Suunto Blog
This is what vertical power looks like
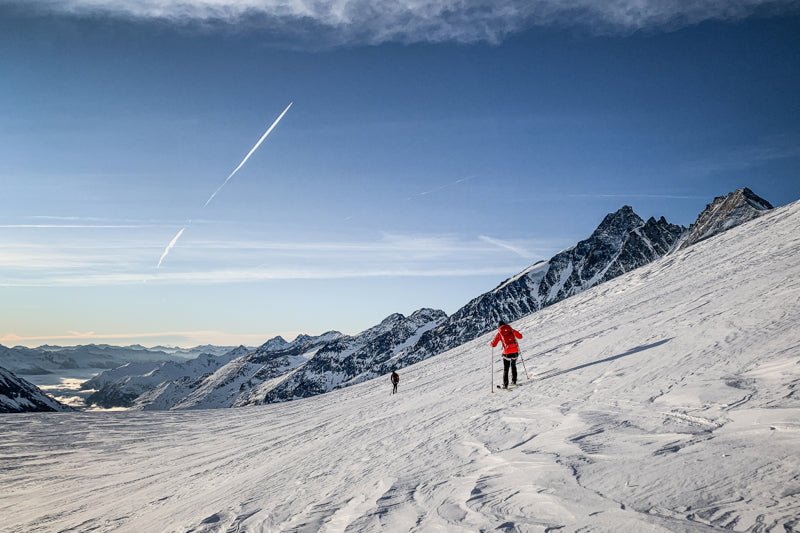
For ordinary mortals, completing the Hoch Tyrol ski route – with 10,000 m of ascent over 100 km – usually takes six days. The alpine route runs from Kasern, South Tyrol and proceeds from hut to hut, crossing Grossglockner ( 3798 m), Austria’s highest mountain, before finishing in Kals am Grossglockner. Often exposed, with steep climbs, and technical skills required, it’s not for the faint hearted.
Suunto ambassadors and mountain athletes Francois D’Haene and Philipp Reiter didn’t have six days. So they decided to complete the epic alpine crossing in one push, on one day. This is what having vertical power provides – epic adventures in a single day.
Click here to learn how to improve your vertical speed!
© Martina Valmassoi
Setting out, the weather didn’t play nice, and they found themselves skiing down a couloir in poor visibility. Their Suunto 9 watches allowed them to safely navigate the white out. The crossing demanded more calories than they anticipated so they ordered big plates of pasta at one of the huts. As they continued, the weather cleared, and they enjoyed some stunning descents. By the time night fell, their tanks were nearly empty, but somehow they reached the end.
"I was never as destroyed as when I was fighting my way up to the final peak, Grossglockner," Philipp Reiter says. "I tried to convince my body to keep walking but every 30 steps it just stopped for a few moments before I could push on again. It was a mix of all the pre-planning stress, not enough sleep and physical exhaustion from almost 10.000m+. When we finally reached the summit it was just overwhelming feelings - so happy to have completed our project!"
Hit play below to watch their big day out!
Lead images: © Philipp Reiter
6 tips for faster skimo
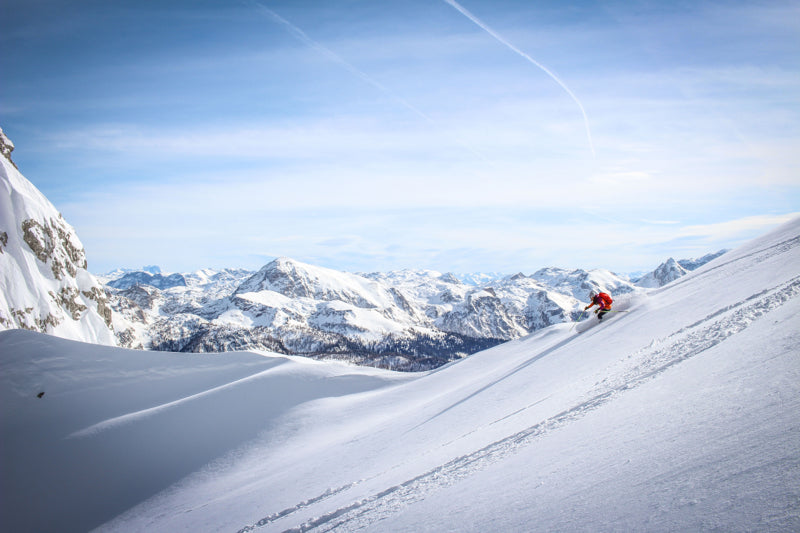
Sports scientist, coach and blogger Susi Kraft grew up in the Austrian Alps and fell in love with ski mountaineering early. Her dad was her first skiing coach, and since studying sports science at university she’s been fascinated by how to train to get faster.
“Being faster makes it more fun, means you can climb more mountains, and gives you more options,” Susi says. “It also means you have safer conditions, lower avalanche risk, if you head out in the early morning and are fast enough to get back before midday when it usually gets warmer and changes the snowpack. Being faster also makes it possible to climb high mountains in one push – without the need to sleep in a hut.”
Every opportunity, Susi is out in the mountains around Salzburg.
The most beautiful and demanding
Susi is one half of the popular German language skimo blog Berghasen, which covers gear, training to tips, and awesome tours in the Alps. She coaches everything from trail runners and triathletes through to ski mountaineers. Getting faster at skimo is one of the most challenging things to achieve because it’s such a demanding sport.
“There are so many factors,” she says. “Endurance, technique for uphill and downhill, the environment, snow, mountains, cold, avalanche risk, fuelling, what to drink, and safety. The sport demands a lot of experience in advance. There are a lot of factors to staying safe and getting better. That’s why for me it’s the most beautiful sport, but one of the hardest to achieve the next level.”
Read on for Susi’s six tips to improve your uphill skimo speed.
Follow the 80/20 rule
“With skimo it’s really hard to train carefully because as soon as you go uphill your heart rate peaks,” Susi says. “It’s easy to slip into high intensity training and then over time your improvements will start to plateau. Also, having to carry much more gear in comparison to other sports such as trail running makes it really hard to train at lower intensity.”
Skiing and avalanche equipment, a backpack with food and drink, ski clothing and helmet all add up the weight to make the sport demand more strength and power, and to make it tough, especially for beginners, to keep the heart rate down.
Susi recommends following the polarised training model propounded by sports scientist Dr. Stephen Seiler. This is based on Seiler’s research that found the best endurance athletes do most of their training at low intensity. It suggests 80 % of training should be done at low intensity, and only 20 % at high intensity.
A key factor in getting a feeling about your training intensity is knowing your maximum heart rate. It can be determined by doing a lactate performance diagnostic test on a treadmill or bicycle ergometer. Your heart rate is the easiest way to monitor your training intensity and can be used in most sports. If you already know your maximum heart rate you can follow these training suggestions:
Train at least 80 % of the training at low intensity – about 70 % of your maximum heart rateMaximum 20 % of your training volume should be high intensity – about 80 to 100 % of your maximum heart rate
To sum it up, follow this rule: do a lot of training in your comfort zone with low heart rate and a little bit of your training at really high intensity with your heart rate close to your maximum.
Reduce weight
As we mentioned before, skimo involves a lot of gear, and the weight of all that gear and provisions slows you down or increases your heart rate. Looking for ways to cut that down is essential. Susi recommends investing in lighter skis and ski boots as a start, and then looking into what other lighter weight gear you can find.
“If you really reduce weight you will notice your heart rate doesn’t get as high,” Susi says. “You will be able to do longer and more demanding climbs and you won’t get fatigued so quickly. Your recovery time after a long skimo day will also be less if your training session isn’t that intense.”
Embrace the flat
To help avoid slipping into high intensity training tours, look for maps and routes that don’t have so much elevation gain and avoid steep uphills.
“Look for terrain with just moderate steepness,” Susi says. “It will help to keep your heart rate down. Try to keep the inclination as low as possible, and use it as a warm up. Then keep some capacity for the last part of the mountain.”
Another option for low intensity training is doing some of your sessions on the bike outdoors or indoors on a bicycle ergometer. With biking it’s easier keeping the intensity low and the heart rate down than while running or ski mountaineering, Susi says.
Mix it up
If you’re having trouble keeping your heart rate in a low intensity zone on your tours, then mix it up and improve your base fitness by doing low intensity running in flat terrain and cycling. Remember, elite athletes like Kilian Jornet spent years working on their base. There are no shortcuts. Take your time and enjoy the process.
Build strength
Strength and core training are important for any sports, as they improve physical performance and are a key factor in preventing injuries like ruptures of ligaments in your knee.
“With more strength in your legs and core, uphill climbing will get easier,” Susi says. “Do two strength sessions a week with higher loads and don’t forget about core training!”
For building up muscles in your legs Susi recommends doing at least three sets of eight to 12 repetitions of:
box jumps
squats
lunges
leg press
deadlifts
hip thrusters
Beginners should do these exercises without additional weight. “The more experienced in strength training you get, the more additional weight you may use”, Susi says. Use barbells, kettlebells, dumbbells, weights plates or sandbags to intensify your strength training.
If you want to work on your core-stability and upper body d o exercises like push-ups, planking (frontal and side), good mornings, bridging or sit-ups. Check out Susi’s blog for more inspiration on core exercises. The articles are in German, but you can see the images here.
Do HIIT training
As mentioned, at least 80 % of your endurance training should be done at low intensity at around 70 % of your maximum heart rate. So what about the remaining 20 % of your training volume?
For athletes with a long history in low intensity training and for people with an excellent endurance base, high intensity interval training (HIIT) may improve your endurance even more.
“Just use a little bit to spice up your long and low intensity sessions, but don’t push it”, Susi cautions. “One or two sessions per week during the preparation for your competition or season highlight are totally fine.”
High intensity interval training is characterised by short and intense periods of exercise followed by less intense recovery periods where you continue the exercise with lower intensity. For example, running at maximum speed for one minute followed by easy running for one minute, and repeating this 15 times.
“As high intensity interval training is really intense the sessions usually have a shorter duration compared to ordinary and low intensity endurance training,” Susi says. “Keeping it to 25 to 40 minutes of hard intervals is totally fine.”
Follow one these HIIT regimens for skimo:
30 x 30 seconds at maximum intensity followed by 30 seconds of active rest at low intensity15 x 1 minutes intervals at maximum intensity followed by 1 minute of active rest8 x 3 minutes intervals at high intensity followed by 3 minutes of active rest (low intensity)5 x 4 minutes intervals at high intensity followed by 3 minutes of active rest4 x 5 minutes at high intensity followed by 5 minutes at low intensity3 x 8 minutes at high intensity followed by 5 minutes at low intensity
Note: start your HIIT with a 10 minutes warm-up and a 10 minutes cool down at low intensity. The day after a high intensity session you should schedule a rest day or an easy recovery session.
All images: © www.berhasen.com
Get faster on those hills now
With Suunto World Vertical Week 2022 around the corner (March 14-20), we reached out to Austrian ski mountaineer, sport scientist and coach Susi Kraft and asked about what goes into getting faster vertically. Susi is one half of the Berghasen, an awesome German-language blog covering everything you need to know about ski touring: training tips, tours, gear and so on.
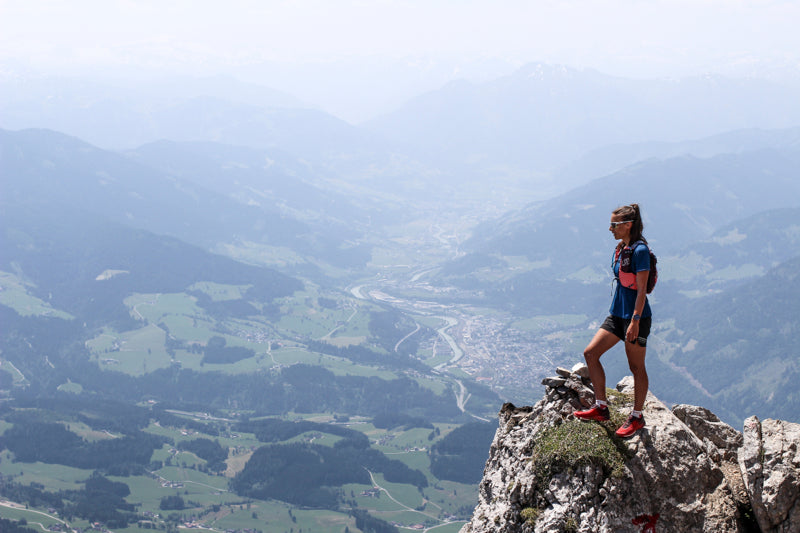
Like many Austrians, Susi grew up in the mountains, began skiing as a child and got into ski touring at university, and more recently trail running. Now the 29-year-old can’t stop. “With sports science I got deep insights into how training really works,” she says. “It made me rethink my own training.”
The tendency, Susi says, among endurance athletes is to slip into doing too much high intensity training, even when they know they shouldn’t. And this is further compounded by vertical speed training because climbing steep gradients radically elevates heart rate.
Why improving vertical speed is hard
“It’s hard to train your aerobic base when you go uphill,” she says. “When your body isn’t used to endurance efforts, your heart rate increases quickly, the intensity gets turned up, your lactate levels start to max, which means the pH value in the body starts to fall. If it gets too low, the muscles and respiration don’t work economically anymore.”
On top of this, while doing a lot of high intensity hill training can give short term gains, in the long term it can actually worsen your performance. So how to improve your vertical speed without blowing yourself out? Read on for Susi’s four tips and three training plans below!
Susi trains in the mountains around Salzburg. © Berghasen
Good things take time
Suunto ambassador and mountain athlete Kilian Jornet is the Rolls Royce engine of vertical speed. We’d all like to be able to power uphill like he does. But Susi points something out we easily forget; Kilian got to where he is because he spent a decade or more training his base fitness, and that is achieved through low intensity training, not going overboard on hill repeats.
“It takes patience to train your base,” Susi says. “You need a year, five years, or even longer to really accomplish that. The better your training, the better your base, the better your body will be able to handle intense exercise. So take the time to train your body to work economically. When you have a good base, you will be better able to do uphill training!”
Embrace the flat
This sounds counterintuitive, right? You might be thinking how you’ll ever get better sticking to flat terrain. Susi has a reply: “Flat training is important because it’s not that intense,” she explains. “You should combine terrain – half on flat, half in the hills. World class athletes never stop training their base, they just carefully combine it with more intense sessions.”
Build strength
If you’re really serious about wanting to improve vertical speed, then there’s no skipping legs day at the gym. Strength training for the lower and upper body are essential to getting faster.
“The stronger you are, the easier it becomes,” Susi says. “If you can keep your upper body stable, your legs and arms can work more efficiently. This is really important for pushing uphill for a long time.”
Improve your technique
“Technique is really important for any sport you’re doing uphill. “You need to find the most economic way to move your body. I suggest practicing your technique on the flat so you can really focus on it without feeling exhausted.”
Beginner, advanced and expert training plans
Susi suggests following one of these plans for two weeks, then have a rest week with one to two additional rest days. Repeat the plan for several weeks with slowly increasing the length of the sessions after week six.
Beginner
Monday: Off day
Tuesday: Core and mobility training
Wednesday: 30 min run before breakfast at low intensity (70 % of your max heart rate).
Thursday: Off day
Friday: Strength training: legs and upper body
Saturday: 30 min running or 40 min cycling at low intensity (70 % of your max heart rate).
Sunday: 1,5h biking or 2 h hiking/skimo at low intensity
Advanced
Monday: Core stability followed by general strength training (hypertrophy) for legs and upper body. Flexibility exercises for cool down.
Tuesday: Fartlek (interval) workout: 1 km at 60 % of your max heart rate then 1 km at 85 % of your max heart rate. Repeat five times. 10 min easy jog cool down.
Wednesday: 45 min run before breakfast at low intensity (70 % of you max heart rate).
Thursday: Off day
Friday: Core stability followed by general strength training (hypertrophy) for legs and upper body. Flexibility exercises for cool down.
Saturday: 60 min running or 2 h cycling at low intensity (70 % of you max heart rate).
Sunday: 2,5h biking or 3 h hiking/skimo at low intensity
Expert
Monday: Core stability followed by general strength training (hypertrophy) for legs and upper body. Flexibility exercises for cool down.
Tuesday: Fartlek (interval) workout: 1 km at 70 % of your max heart rate then 1 km at 85 % of your max heart rate. Repeat five times. 10 min easy jog cool down.
Wednesday: 50 min run before breakfast at low intensity (70 % of you max heart rate).
Thursday: Off day
Friday: Core stability followed by general strength training (hypertrophy) for legs and upper body. Flexibility exercises for cool down.
Saturday: 80 min running or 2 h cycling at low intensity (70 % of you max heart rate).
Sunday: 2,5h biking or 3 h hiking/skimo at low intensity. During the workout: 5x3 min. at 90 % of your maximum heart rate with at least 3 min. of easy jog between the 3 min. intervals
Lead images: © Berghasen
6 keys to planning your training year
The Austrian management guru Peter F. Drucker said it well: “Unless commitment is made, there are only promises and hopes; but no plans.”
Put another way, without a clear plan, there’s no real commitment. It’s the same with training. We need a goal and a plan to reach it. Otherwise, the risk is we keep on doing the same old thing. If we do aim to improve our performance, we must know where we’re going and how to get there.
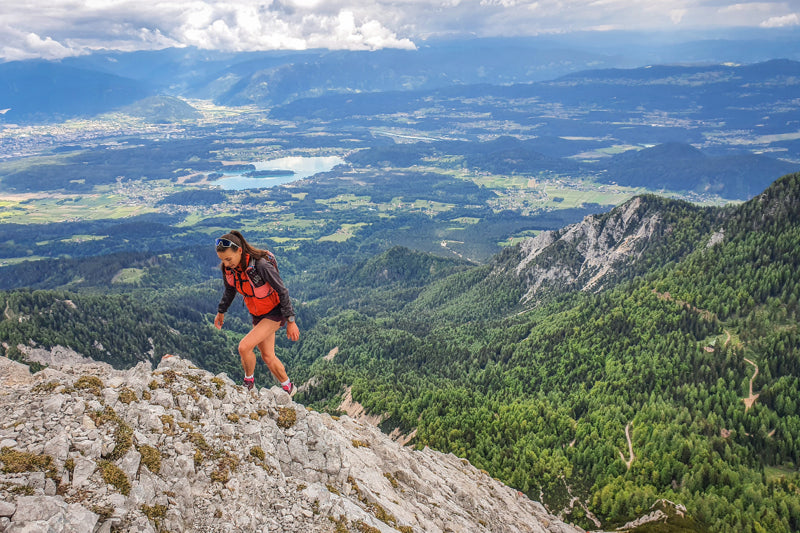
“A training plan doesn’t have to start directly at the beginning of a year, but it’s a good time for making plans and setting new goals,” says Austrian sport scientist, coach and athlete Susi Kraft.
Susi is one half of the Berghasen, an awesome German-language blog covering everything you need to know about ski touring: training tips, tours, gear and so on. We caught up with the passionate mountain lover and asked what goes into a good training plan. Read on for Susi’s six tips.
Susi works and plays in the stunning mountains around Salzburg. © Berghasen
Take the long view
You might be wondering whether you really need to have a plan for the whole year. The answer is yes if you want to have an optimal training year and achieve your goals. Susi explains why:
“When designing a training plan you normally define one or two personal highlights in the training year,” she says. “At those events your physical performance should be at the highest level.”
Once the highlights are decided you then distribute every single workout/training session across your calendar. Sport scientists like Susi call this process training periodization, which has three phases:
1. Base period2. Pre-competition period3. Competition period
“A smart training periodization is only possible if you have an overview of the whole year and the athlete highlights factored in,” Susi says. “Besides that you also have to factor in your personal life, like family, holidays, work, weddings, kids and so on.”
Select your highlights
Without a goal, it’s easy to lose direction. When thinking about your next goal, use the acronym as a guide, SMART: specific, measurable, achievable, realistic and timely.
Specific: Well defined, clear, and unambiguousMeasurable: With specific criteria that measure your progress toward the accomplishment of the goalAchievable: Attainable and not impossible to achieveRealistic: Within reach, realistic, and relevant to your life purposeTimely: With a clearly defined timeline, including a starting date and a target date. The purpose is to create urgency.
“The training plan itself should always be orientated around a goal you want to achieve,” Susi says. “That goal could be a trail running competition, finishing your first triathlon, climbing Mont Blanc or losing weight. Setting new goals and working with a specific training plan keeps motivation high. That’s what I see when working with my athletes.”
Consider this
“The no pain, no gain approach to training is really outdated, “ Susi says. “30 years ago experts in sports science didn’t always know how to train right. What we know now is that the best endurance athletes don’t train so hard – most of their training is at low intensity.”
Take a moment to think about that before creating a plan to achieve your goal. This is especially important if you have a tendency to push yourself hard. A gentler approach may serve you better.
“A lot of people I see try to get better really fast,” Susi says. “They train really hard, really long distances. You may get better quickly, but in the long term that’s really bad for the body and for the training programme. Some people actually get worse, become overtrained or are prone to injuries.”
Don’t copy and paste
Oh, the internet. We can find countless training plans and make them our own. Thing is, cutting corners like that might not give you the results you wish for.
“If you just copy last year’s or someone else’s training plan it won’t account for possible improvements in your training status,” Susi says. “Your plan should always be built on your current endurance, strength and other skills. That’s why it is so important to do performance diagnostics regularly and before you start working with a new training plan or coach.”
Avoid these classic mistakes
Susi says people tend to fall into two camps. Those that go overboard and do too much high intensity training too soon, and those that like routine and do the same workouts every week.
“Really think about intensity distribution in your plan,” Susi says. “The risk is, that you do the same stuff every week. That mistake may lead to slower progress, monotony or even overtraining because you didn’t consider rest day and rest weeks. Most people tend to train too hard over several weeks or months. Over a whole year this may lead to chronic exhaustion.”
Don’t be that guy.
Follow this planning flow
Set goals / highlights
Analyze your current physical status – endurance, strength, stability, speed, balance – by doing physical performance tests. The outcome is influenced by your training history. Also consider how much experience a person has and determine your training age, meaning how many years of endurance training, strength training you’ve done and how many years of specific training in the sport you want to compete in.
How often and what exactly is your training programme (hours, km, what kind of sports etc.)
Which weaknesses do you have? What are the main factors we need to approve?
How much time do you have to achieve your goal?
Determine the training periodization over the time window you have available.
Carefully and realistically distribute the training intensity across the calendar
Plan single blocks or training sessions
Lead images: © Berghasen

Share your passion with Suunto app
KEEP UP WITH THE SUUNTO COMMUNITY
The app has many ways in which it keeps you and our community engaged, helps you connect with people with similar interests and allows you to create everlasting training memories and to share relevant content with your friends or on social media.
But, first things first:
We value your privacy
It's always up to you to decide how much you want to share. By default, after you have created your account in the app, your activities are private. Nevertheless, you can change that to any of the other two privacy options: show your activities to your followers or make them public for all the Suunto app users. Additionally, you can change that setting for every exercise individually.
In the app's privacy settings, you can also define if you want to approve people before they can start following you. Read more about adjusting privacy settings with iOS and Android.
Then:
Create long-lasting training memories
Edit your activities to make them memorable: write stories, add comments and comment on your friends' training, add photos and even videos taken during your activity. It matters even if you have a private account. This way, you create a visual diary for your activities and experiences.
Share a data overlay image of your training
After adding photos to your activities, you can share (or save) them with data overlays. You can add elements like altitude graph, total distance, the highest point and many more. You can also add a custom title text on top of the image. Share them with your friends, your social media, or save them for later in your files. Tap the "Share" button on your activity. Tap the information you have displayed to change it. Change the photo by choosing another one from your gallery.
You can even share your training week, month, or year
Want to show your friends your training days, duration per sports, distance, ascent and the active kcal? We have the best way for you to do that. On the app's main screen, tap the calendar or sports/h square and then choose what you want to share. You can send it directly to your friends, post it on your social media channels or save the image for later.
Connect with your friends even if they aren't using our app (yet)
You can sync your Suunto app account with our partner services, like Strava, Training Peaks, Relive and Fatmap, and reach your friends there, too. To connect your Suunto app with other services. Enable the automatic sync from under your Profile. Select the Partner services option and find the apps you want to connect your Suunto app to.
Happy training!
This freerider is going after 30 remote Arctic lines, each one on foot
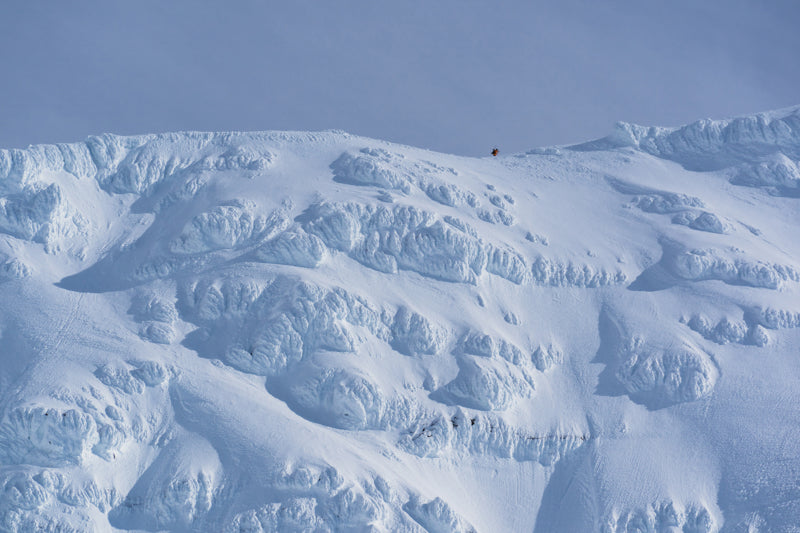
Suunto athlete and pro Finnish snowboarder Antti Autti is on a new freeriding mission: to ride 30 lines above the Arctic Circle in the northern Scandinavian wilds. Antti’s crew are filming the 30 adventures, which will feature as a web series on Suunto.com here.
Each approach will be done on foot to minimize fossil fuel use, something Antti and many adventure athletes – including Suunto’s Greg Hill and Kilian Jornet – are becoming increasingly conscious of.
Watch the first three episodes of Arctic Lines here!
Antti Autti lives in Rovaniemi, the capital of the Finnish Lapland.
The Arctic Lines project is different from Antti’s previous adventures. “I’ve done a lot of films that are a little bit based on illusion, you know, creating great powder, stories about perfect days in the mountains,” Antti says. “That’s part of my job and the lifestyle I live, but to me it started to feel like there’s much more stuff I can do to inspire people. So I decided to do raw documentary style films that really showcase the things and responsibilities that we have to take care of out in the mountains. This is the idea behind Arctic Lines.”
To get a raw, unsanitized picture of what goes into these kinds of adventures Antti recommends to follow each of the 30 episodes. “You won’t see everything in the few episodes,” he says. “But if you keep following along, you will get more into it and understand what we’re trying to do, which is important.”
The 30 lines are located in northern Finland, Sweden and Norway, and not easy to get to. Approaches from the road end range from eight to 20 km through harsh Arctic conditions, and during winter through the long Polar Night. “The weather is going to be the most tough for us,” Antti says. “In social media and the media generally you will see all these great photos of the Arctic, with amazing sunrises on the horizon in a white landscape and trees filled with snow. But the reality is that we’re up against hard wind, it’s really freaking cold, and it’s more of a mountain and wilderness activity rather than just riding.”
Antti is more used to these conditions than many. He was born and raised in Rovaniemi, the capital of Lapland, and his family home neighbouring Ounasvaara ski resort. As a kid he tried team sports, but didn’t fit in. Out skiing one day when he was nine, he watched in awe as a snowboarder did tricks. When he tried himself a year later, he was hooked.
Read more about Antti Autti here!
Since then Antti has travelled the world – Japan, New Zealand, Europe and elsewhere – competing at snowboarding events and chasing pow on freeriding missions. While he loves to travel and find new lines, his approach to the sport has changed as his awareness around climate change and his real responsibilities as an ambassador for the sport has matured.
“I started to feel that as a professional athlete I have a responsibility to tell what goes into riding some scary line or even riding a nice looking decline that many people could do, but in a way that's safe and responsible,” he says. “So this is a responsibility as an athlete that I’m caring about. I don’t want to do crazy things anymore without actually fulfilling that responsibility and explaining to people why and how I do things like avalanche awareness and being secure in the mountains.”
Watch the Arctic Lines online series here!
All images: © Jaakko Posti Photography


