


Suunto Blog

Watch the Balkan Express adventure film
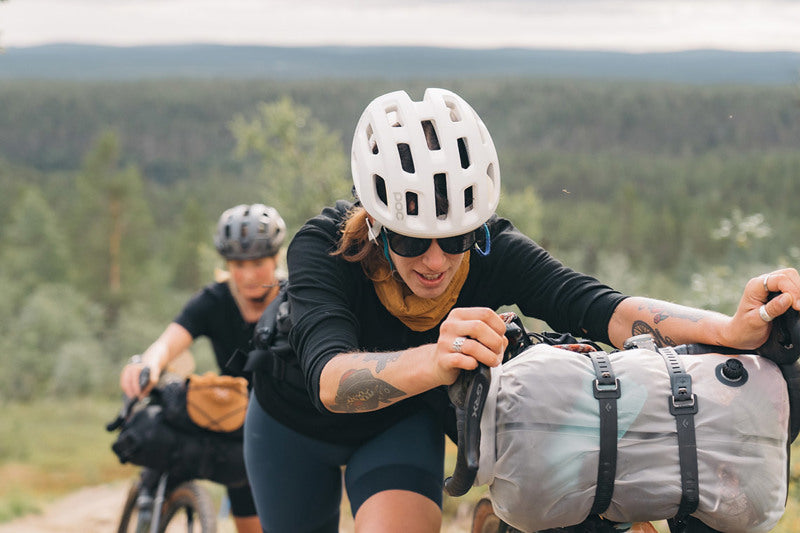
All we need sometimes is one special moment to make hardship worthwhile. When long-time adventure buddies Max Kroneck and Jochen Mesle gazed out across Valbona valley in Albania, blanketed in virgin POW, and with it all to themselves, it made the trials of their Balkan Express adventure project worthwhile.
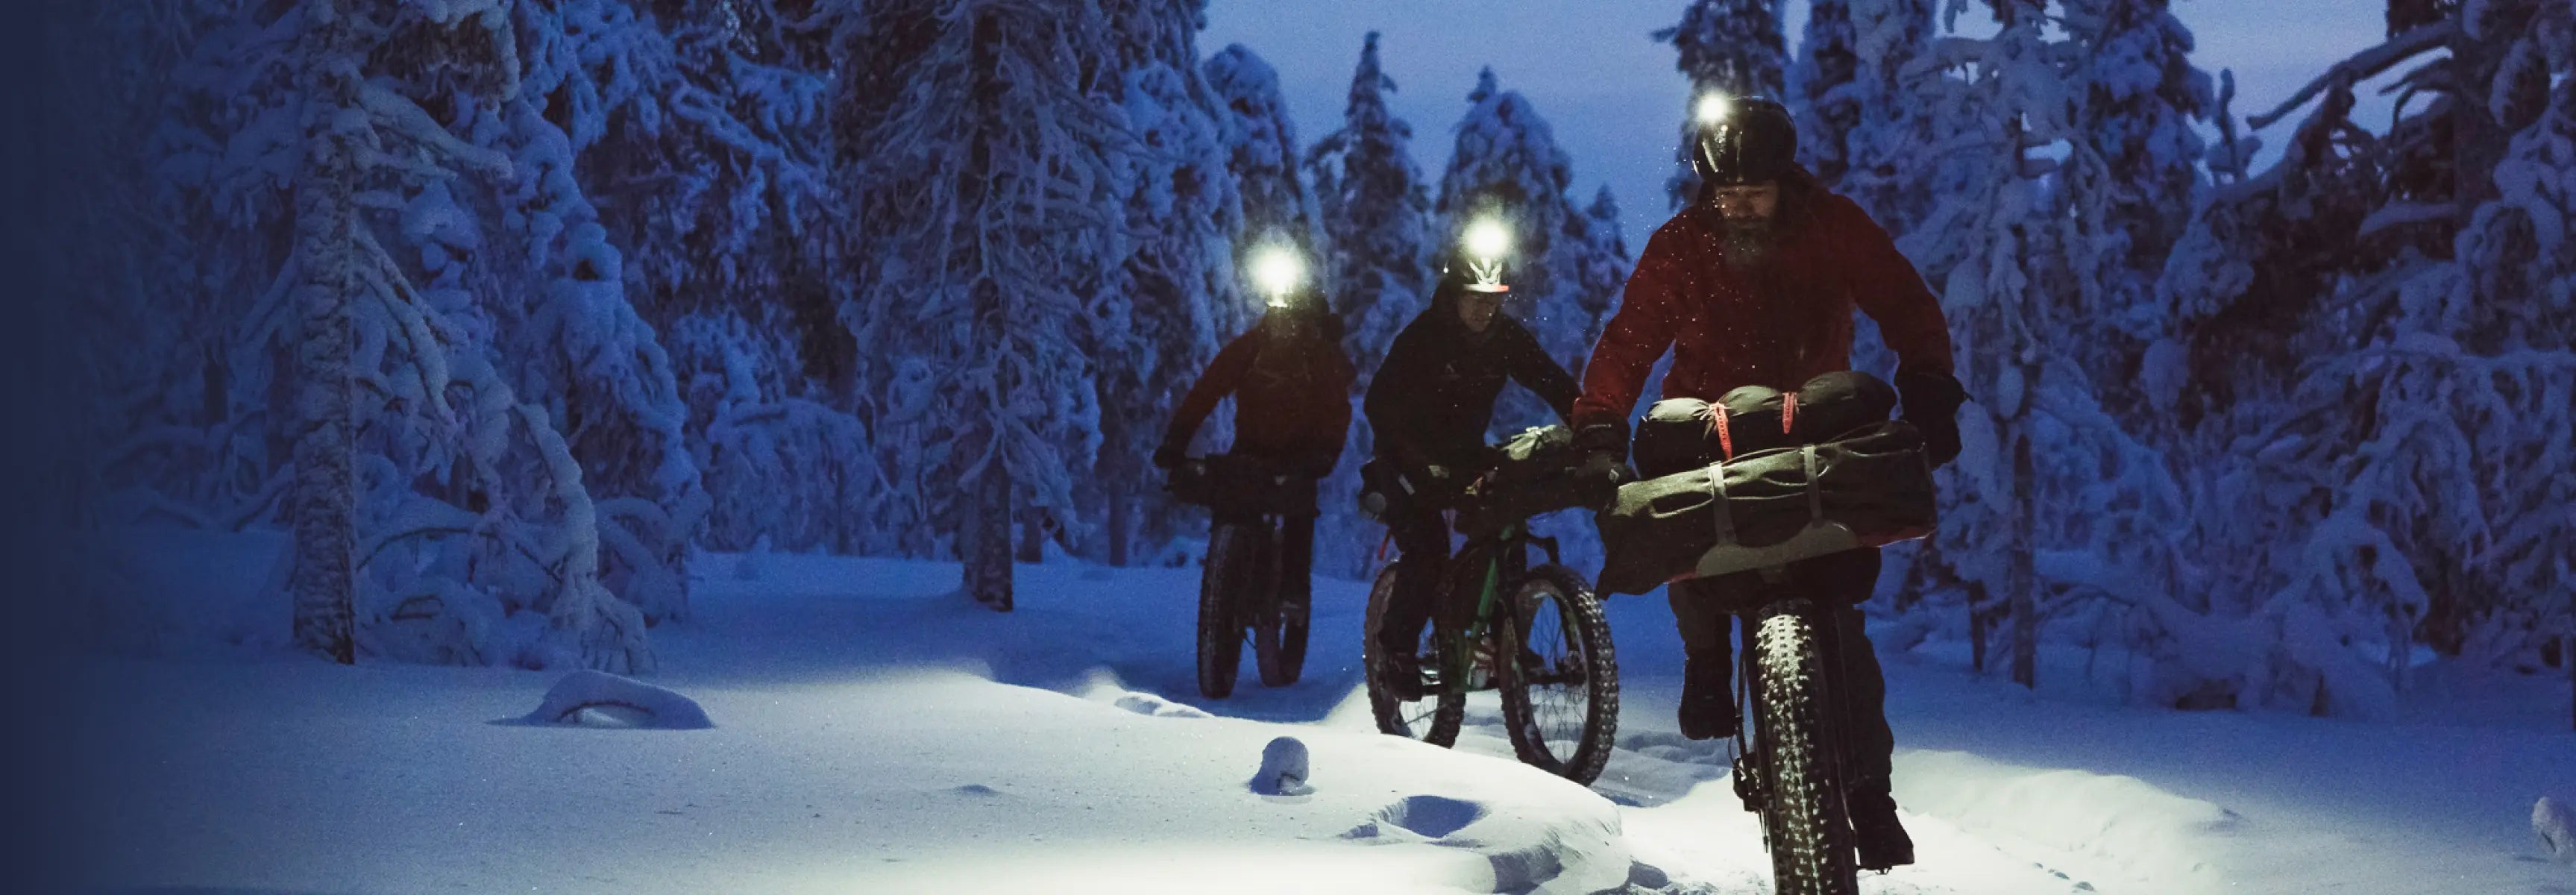
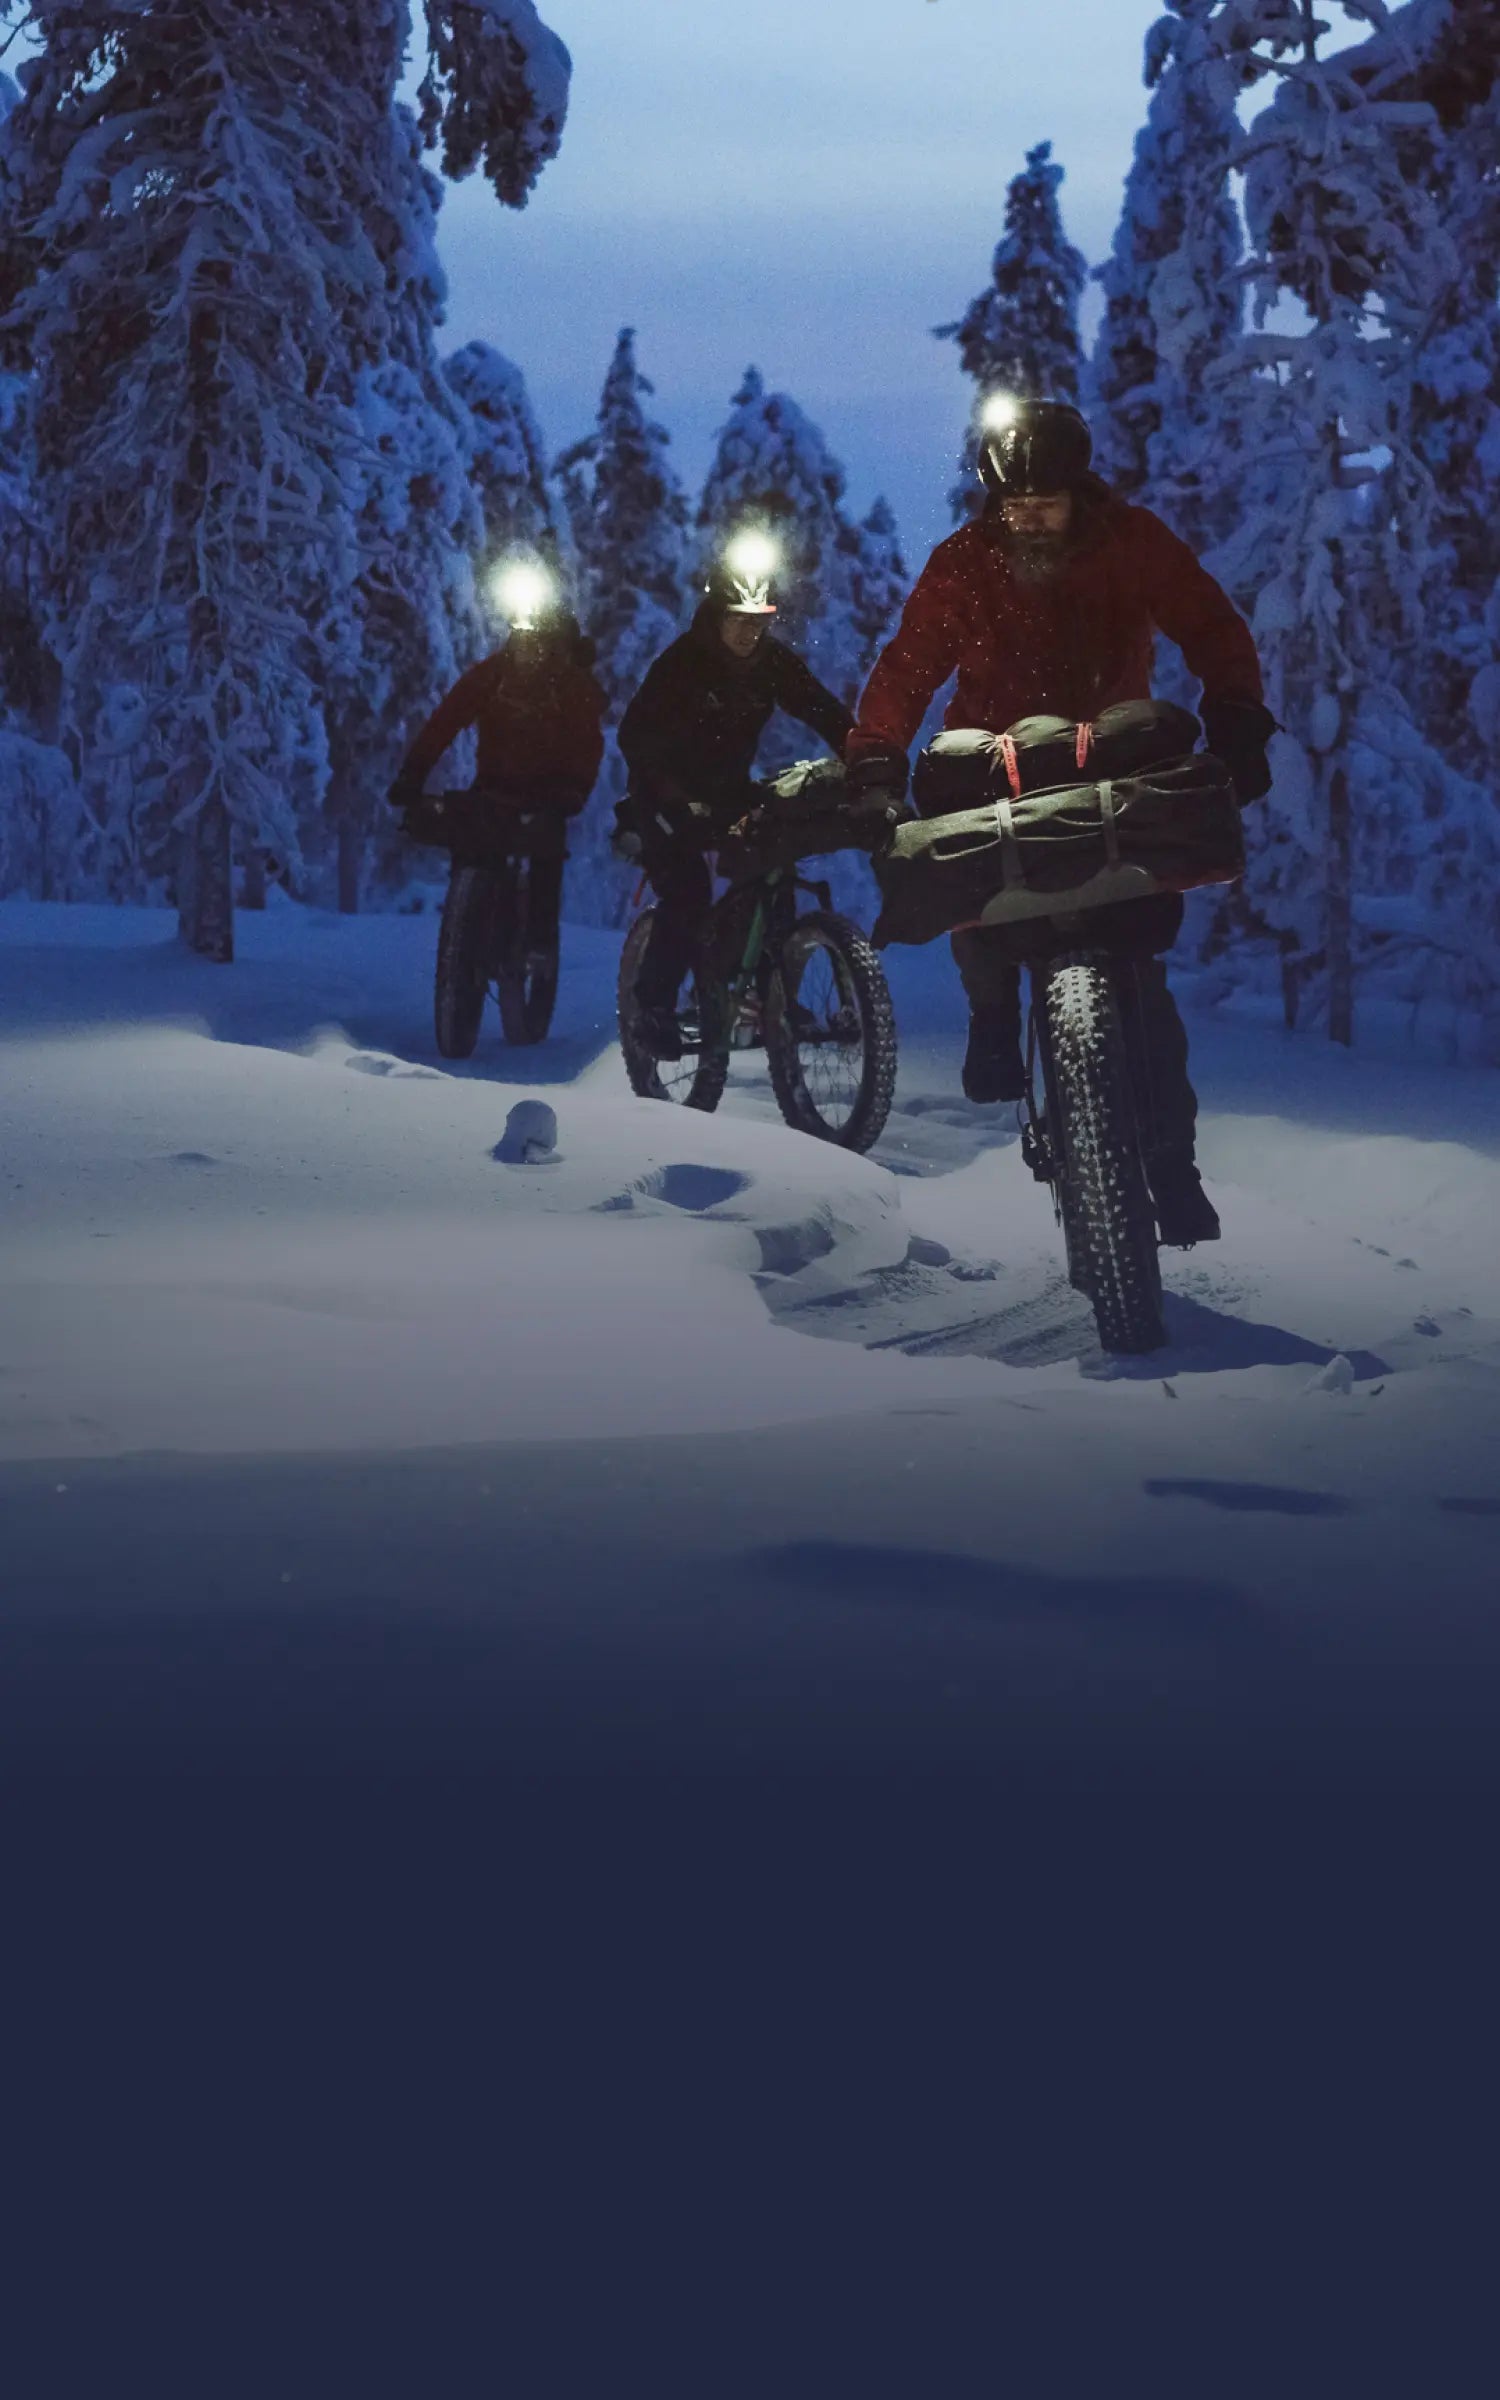
Cycling in temperatures that dropped to -15c, flats, a minor crash, intimidating street dogs, exhaustion, and the kindness of strangers - they experienced all this and more while cycling from the coastal city Thessaloniki in northern Greece through the Balkan region to Munich, Germany during late winter 2022. All up, they cycled 2500 km and skied seven spots in seven countries
Their minds were blown by the mountains and slopes they discovered along the way. Their minds were even more blown by the fact they had them all to themselves. It turns out, freeriding hasn’t really caught on throughout the Balkan nations. Neither have bike lanes. They met some inspiring locals who enriched their journey. And that was the point; it was an adventure as much about connecting with the local cultures as it was about cycling and freeriding.
We caught up with Max and Jochen and asked about their experience. Read on below and click here to find out where you can watch the adventure documentary that’s been picked up by the BANFF Mountain Film and Book Festival.
Watch the full film below!
How and why did you come up with the idea for the project?
Max: We really wanted to experience some mountains, cultures, people we didn't know. We looked at a map of Europe and saw that the Balkans are pretty interesting. We’d never been there and wanted to learn about the people living in the mountains there. The sport side wasn’t the main focus of the project. It was about getting to know the culture and people.
How did you connect to local people?
Jochen: Before we left, we tried to get in contact with local mountain guides and local artists. We connected with four people and met them along the way. And of course we met a lot of people on the road. Those people gave us a good insight into life there.
What was your route?
Max: We started in Thessaloniki. We went skiing at Mount Olympus in Greece, then we cycled through Macedonia, Albania, Kosovo, Montenegro, Bosnia and Herzgovina, Croatia, Slovenia, Austria and back to Germany.
How did your Suunto watches help you?
Jochen: In combination with Komoot it was so good to be able to plan and also be spontaneous along the way. We didn’t need to think about navigation. We spent some time in the morning planning and then just followed our watches. We didn’t get lost once! It was cold in the beginning and it was interesting to see the temperature on our watches. I’m a statistics nerd so I I enjoyed getting all the numbers. We also used the heatmaps in Suunto app sometimes, especially in Albania and Greece where there are more mountaineers, and it seems like they use Suunto too! So we could use the heatmap to hike up.
What was something that surprised you as you traveled through?
Max: We met a mountain guide in Kosovo, Uta, who is trying to make mountaineering more popular in Kosovo especially amongst women, since there are so few. She also talked about their home mountains; they are so beautiful, yet very few of the locals use them. They’re mostly empty. It’s crazy this region is so close to ours, but almost nobody there is into mountaineering. We were pretty much always alone. We met some Italian ski mountaineers in Kosovo once. Then we saw them again later in Albania. But that’s it. Most western Europeans don’t know about all the incredible spots.
Also surprising was learning that it was not so long ago that the first freeriding equipment became available there. A mountain guide from Kosovo told us he could only buy freeriding skis and touring bindings there 10 years ago. The market is just not there. These sports haven’t taken root in the culture. Maybe amongst the richer people.
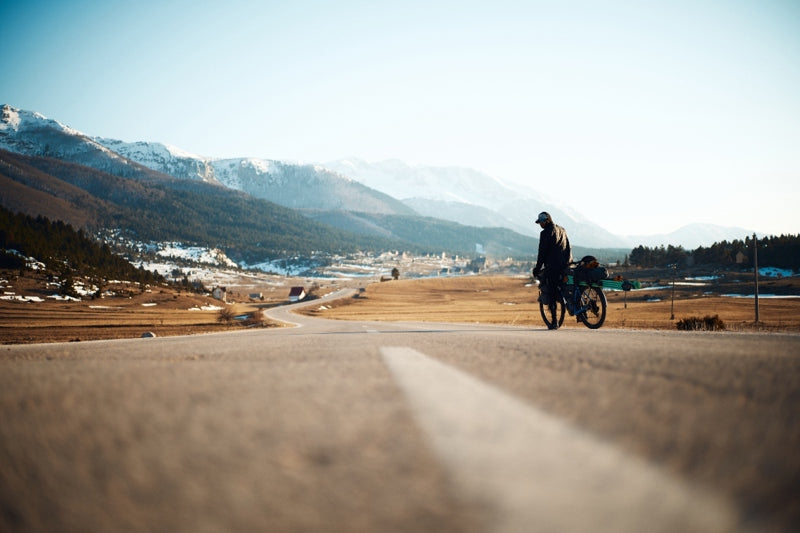
We also didn’t see any cyclists along the way or cycling tracks. Cars play a big role in the Balkan countries.
Did you find many beautiful ski runs you'd like to go back and ride again?
Max: For sure. We had seven days of skiing in seven different countries, starting with Greece. It was a bummer that we had to keep moving forward and weren’t able to spend more time in each place, especially in the countries further south. We saw beautiful mountains in Montenegro, but we couldn’t go skiing there. We really want to go back. But at the same time, it was also nice to keep moving forward. We had really good snow conditions in the southern countries, but the further north we went, when we expected better conditions, it actually got worse.
You guys are backcountry skiers and mountaineers - do you have a background in cycling, too?
Jochen: Max and I met at local ski parks. We both made our way to the backcountry and went to freeriding comps together. A few years later I invited Max to a film project — that’s how we got to know one another better.
Back in 2018 we did a similar project and made a film about it: Ice and Palms. We started from our doorstep in Germany and cycled to the Mediterranean and skied the mountains we know and love along the way. That’s when we started to enjoy riding bikes.
Where can people see Balkan Express?
Jochen: There’re lots of screenings coming up, and we’ll be doing live talks, presenting our book about the project. Then, in the middle of winter, people will be able to watch the film online. It’s so cool to see such a wide range of people are getting inspired by it.
Images by @maxkroneck / @jochen_mesle / @elflamingofilms
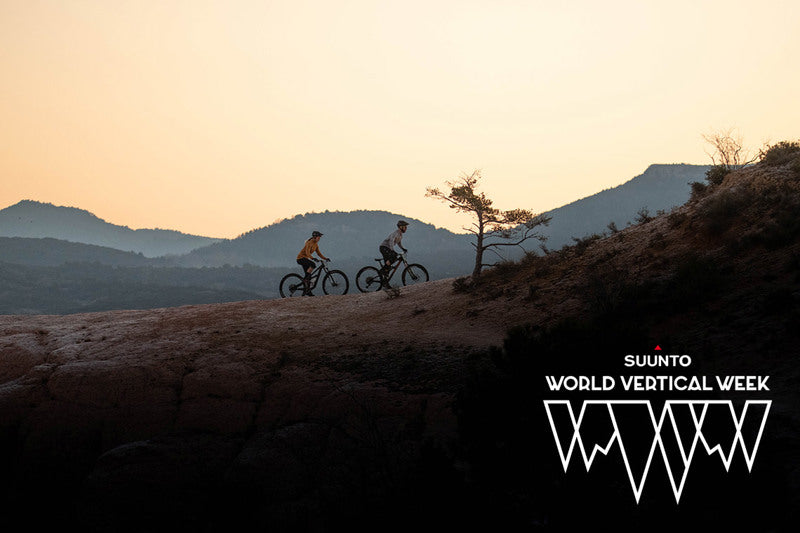

Join Suunto World Vertical Week 2023 and reach new heights!
Together, we can inspire and motivate each other to climb higher and reach new heights. So let's lace up our boots, grab our Suunto watch, and get ready to conquer the vertical world! Run, ride, ski, walk, climb – all human-powered activities between February 27 and March 5 count.
#verticalweek is also an opportunity for nations to go head to head to see who climbs the most. Since 2016 nations have battled for the top spot, as well as sports, to see who can accumulate the most vertical meters.
To participate in Suunto World Vertical Week, open Suunto app and click the Vertical Week card in your inbox (the bell symbol on the top of your screen takes you there).
Share your #verticalweek experience and win!
Run, hike, walk, ski or ride a quad-busting route and then share the workout from Suunto app as an image with the data overlay in Instagram, tagging @suunto and #verticalweek, and we’ll select three of the most inspiring shares and those users will win a Suunto 9 Peak Pro GPS watch.
Click here to learn how to share your activities with Suunto app.
Terms and conditions apply. Check them here.
Data from the previous years
Check out which sports and nations have captured the podium places during the past years. Will this year bring changes to the top places? Now is your chance to affect on this year's results by collecting as many vertical meters as possible.
2022 - Summer 2021 - Winter 2021 - 2020 - 2019 - 2018 - 2017 - 2016
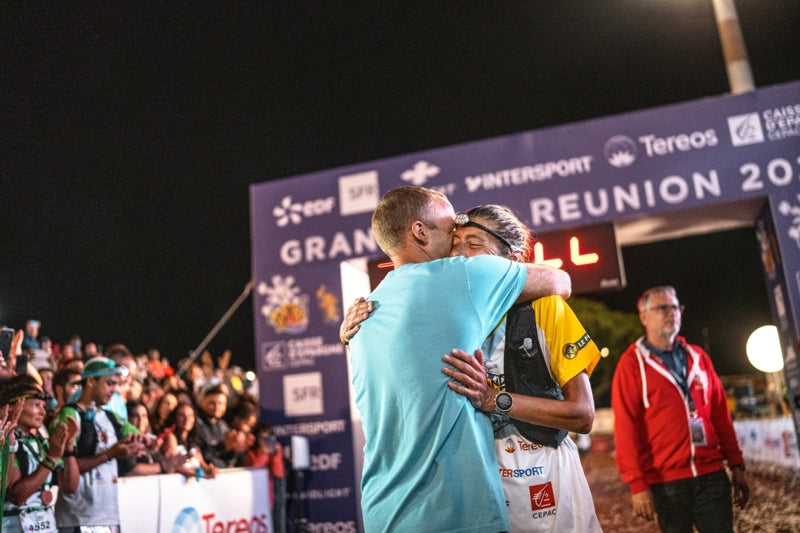

Be my adventure valentine: what you need to know to be the ultimate support person
Suunto ambassador Courtney Dauwalter and her husband slash race support person Kevin Schmidt share their insights on the crucial role.
Unconditional love. That’s what we all want on Valentine’s Day and every other day of the year. To be loved thoroughly even if we’re far from perfect. Or a bit of a mess. Or falling apart physically and psychologically during an ultra marathon we’re having serious regrets about entering. Those are the moments you need someone there you can really lean on, even lose it in front of and not worry about them walking away from you forever. Inviting someone to be your support person isn’t great for a first date. You need someone you know you can count on in the trenches.
That’s exactly what Kevin Schmidt is for decorated ultra running champion Courtney Dauwalter. He’s her pillar out there. No matter how wild things get, she knows he’s got her back. And that allows her to run hard, to push herself. She’s not out there alone, but held by a loving support system.
Courtney and Kevin are currently preparing for the Trans Gran Canaria coming at the end of February. We caught up with the couple and talked to them about the support person role and what it takes. Read on to get the goodness.
Courtney’s insights
How does Kevin make racing easier for you?
How doesn’t Kevin make racing easier for me?! He is a huge part of the team and I am so thankful that he loves this sport just as much as I do. Before races I can always count on Kevin to help me think through some of the race logistics and we talk through all the aid stations. During the race, he is incredibly organized and efficient, he is calm no matter what is happening, and he knows what to say to give me a boost (usually it’s a bad joke).
What do you see as the essential skills a support person needs to have?
It’s important that they like it! Knowing that Kevin is having a blast spending his day crewing me at a race makes me smile while I’m out on course. I think it’s also important that a support person is ready to help you get to that finish line no matter what. There is always another solution to try, another way to encourage, another type of food to offer. The finish line is something achieved by the entire team, so it’s important for a support person to be positive and prepared to solve all types of problems on the way towards that finish line.
Does having your partner as your support person make it easier?
It is probably different for different couples. For Kevin and I, yes it makes it easier. Doing this sport together allows us to share so many moments that we will hold onto forever and will smile about when we’re 90 years old. It also helps because we know each other very well, so in the toughest moments we know how to help each other.
Kevin’s insights
What do you enjoy about supporting your partner on these big days?
Crewing for a big race or adventure is a cool shared experience between Court and I. She’s out there pushing herself and doing what she loves, and it makes me happy to be able to support her and do my best to help her succeed. I love the preparation before, the problem solving during, and all of the stories we share about our days after. The whole experience is so much fun!
What’s the most challenging thing about it?
The most challenging is seeing her in her darkest moments, knowing the pain she’s working through. It’s hard seeing your partner suffer, but I know how much she loves these challenges so I’ve learned to embrace it and help out as best I can.
What do you see as your role as a support person?
If I’m well prepared, Court can be confident that all of the food and gear she needs will be ready at the next aid location and she can just focus on getting there. I think it’s also important to have good energy, be ready with questionable jokes, and to be a teammate in problem-solving with anything that comes up during the race.
What are the key jobs a good support person must do well? Both the practical side, food etc, and also the mental side, encouragement etc?
Being fully organized before the race is the most important thing for me. During an event it can feel crazy sometimes, and having a clear plan to work from helps reduce mistakes at aid stations. Knowing what might go wrong and preparing a variety of gear, food, or jokes to help your runner is also highly recommended.
How do you train or prepare for the big day? What sort of work is involved?
I do a lot of research on the course we’re going to, both the running course and the crewing course. It’s helpful to have rough splits for the runner so you know when to expect them at aid stations, but also to know how long it takes to drive there, where to park, if you need to hike in, etc.
Running training can also be helpful in case, hypothetically, you blow tires on two different vehicles en route to an aid station and need to run a little yourself. This happened at the Moab 240 in 2017! I ran two miles into the aid station with armfuls of gear after both our crew vehicles got flat tires. Court was almost to the aid station so I took off running while our other crew person fixed the tires.
Do you have any little secrets or tips you’d like to share with others in terms of ways to succeed as a support person?
Know your runner, and what will help them when they hit a low patch. Do they need tough love or dad jokes? Pancakes or pizza? And always always, have their favorite beverage ready at that finish line.
All images by Jordi Saragossa.
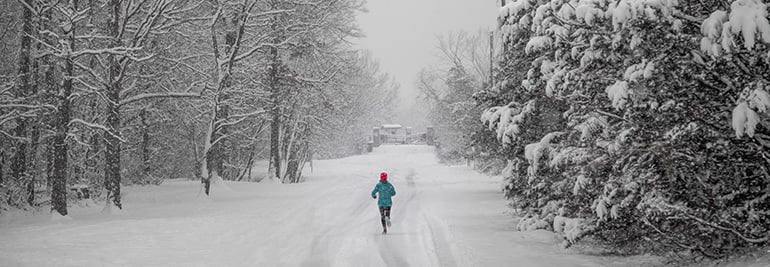

8 quick reads to inspire a winter of training and adventure
It’s easy to make excuses why to slack off from training and stop heading out on adventures over the cold season. Those excuses can sound so rational, but deep down, in your heart of hearts you know, we all know, they are total BS.
Winter presents challenges, yes. But also opportunities. You just need the right gear, the right intention and attitude. So before you slip into hibernation mode, scroll through these quick reads and ingest the motivation that lies within. You’ll find tips from elite athletes, coaches, a meteorologist and cloud watcher, a British adventurer who has a perverse passion for going on adventures in the filthiest weather, and much more.
3 ways to motivate yourself to train this winter
The fact you are reading this article is already a sign you are fighting off the urge to hibernate the winter away. TrainingPeaks coach and triathlete Andy Blow outlines three more ways you can keep your motivation high no matter how gray, short and cold the days get.
Photo by Goh Rhy Yan on Unsplash
12 ways to change up your training over winter
Maybe you’ve had a big summer of training and competition and you don’t feel like maintaining the same regimen over winter. That’s perfectly understandable. But rather than slack off, find ways to mix it up instead. These 12 ideas will ensure when spring rolls round you’ll be pumped for your next big training block.
How to stay warm this winter
Knowing how to layer well and what to wear and when are essential skills for outdoor adventure during winter. This article boils it down to the essential things you can do to stay warm when it’s frosty out there.
7 tips for running in the dark
Shorter, darker days means most of us who enjoy running outdoors have to head out once the sun has set. Running in low light presents opportunities and also challenges. Click through for tips on how to do it well.
8 tools for tracking the weather with Suunto
Keep abreast of the latest weather developments with these eight tools. That way you will know when your window of opportunity is to get out and enjoy before the weather folds.
6 tips for cross-country skiing with your Suunto
This article offers six simple tips to help you more easily find nice tracks to explore and to train more effectively.
Alexander Koerner/nxtri.com
What you need to know about cold water swimming
Want a massive energy boost this winter? Try cold water swimming. It will rev your engine like nothing else. But to do it well and safely there’s some essential things you have to know and follow. Norseman Xtreme Triathlon’s chief medical and safety officer Jørgen Melau breaks it down.
7 tips for running in the rain
British adventurer Ben James inexplicably seeks out miserable conditions because it allows him to test his mettle. For him, running in the rain is a badge of honor. Who better to ask for tips for running in the rain?
Lead image: © Photo by Vlad Tchompalov on Unsplash
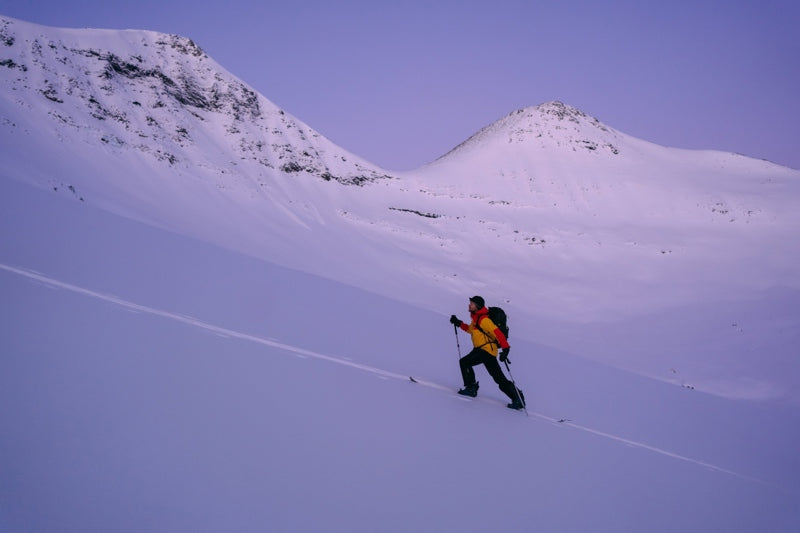

6 must-read skimo articles to get set for winter adventure
A little knowledge goes a long way, and when it comes to the fitness level and safety skills required for skimo this is even more so the case. So to help you prepare and get pumped for this pow season, we put together six of our most important and helpful articles with tips galore about how to train, follow a safe track and deal with avalanche danger.
Scroll down now and soak up the know-how.
© Mark Smiley
8 avalanche safety checks to tick off before the ski season
In this article, pro mountain guide and outdoor educator Mark Smiley lays out all small tasks you need to do before commencing your skimo season. Once you’ve read it, check out Mark’s Mountain Sense online courses, including his Comprehensive Guide to Avalanche Safety.
14 tips for backcountry skiing this winter
In this one, Mark Smiley continues dispensing oodles of backcountry wisdom. Having awesome skimo adventures is all about preparation and being open to learning how to improve. Small things, like finding the right adventure buddy, managing your pack weight and more, are the building blocks to rewarding and safe days in the mountains.
© www.berhasen.com
6 tips for faster skimo
It’s not speed for speed’s sake. Getting faster in the mountains isn’t about chasing adrenalin; when you’re fitter, and faster it’s easier to enjoy trips that take less time and therefore safer. In this article, sports scientist and skimo coach Susi Kraft lays out a training plan to help you improve your pace out there.
8 tools for tracking the weather with Suunto
Up above the treeline and exposed to cold and weather, you need to keep a close eye on the weather. This article shares eight ways your Suunto watch can help you track it, from storm, sunset and sunrise alarms through to awesome partners like MyRadar.
© Mark Smiley
7 tips to find a safe track up the mountain
What are the signs of a good track up a mountain, and what are the warning signs to watch out for that signal to stay clear of a particular line? Mark Smiley explains what to look out for and how to use your Suunto watch and other tech to find and follow a safe track.
6 tips for mountain navigation
Freerider and the man behind the Arctic Lines project, Suunto ambassador Antti Autti explains how he navigates in the mountains when he is out on one of his epic adventures above the Arctic Circle. Safety is a key value in everything he does so he has an established process to keep his trips safe for him and his team.
Lead image by Jaakko Posti

Five adventure films to watch
Lost then found
When you lose a part of yourself you begin to question why you were holding onto it so much, to begin with, in a life where change is the only constant, how do we let go and focus on the things that bring us joy?
Lost then found is the introductory episode of Suunto ambassador Christian Meier’s year-long project exploring the transition from a professional cyclist to an ultra trail runner.
”This project is about stepping back to gain a better perspective on life’s highs, lows, and challenges, which make it beautifully complex,” says Christian.
Caught in an avalanche. Is freeriding worth the risk?
Suunto ambassador Antti Autti has just started his 20th season as a professional snowboarder and kicks it off with a new Arctic Lines episode called “Twenty”. Twenty is actually split in chapters one and two so there’s plenty to watch!
“I’m not going to say I want to celebrate the anniversary but I want to have a season where I am really going for it!” Antti says.
In Twenty Chapter 2, Antti gets in trouble and is taken down by an avalanche. He is forced to think hard about his approach to risk-taking while exploring.
”No matter what we do, accidents can happen. And when that happens, our greatest responsibility is to share the experiences honestly, even if it’s painful. That way, others can learn from our mistakes and make better decisions in the backcountry.”
Bikepacking the Arctic Post Road
Adventure buddies and Suunto ambassadors Sami Sauri and Henna Palosaari went on a bikepacking trip way up above the Artic Circle over summer. Wild, vast open spaces, reindeer, kindly locals - they had a blast.
“Experiencing the simplicity of life up north and the local culture combined with the tranquility of the long wilderness sections creates a bikepacking experience that takes you miles away from the city hustle,” says Henna about the 430 km trip from Ylläs in Finnish Lapland to Alta, on the fjords at the top of Norway.
Read more about the Arctic Post Road
Turn it all off and come back to the present moment
"Present" follows Suunto ambassador Freya Orban and her friend and photographer Lukas Dürnegger as they go on a fast packing hut to hut trip in the mountains of Jämtland in central Sweden to rediscovering presence and the joy of running. Freya and Lukas left their smartphones at home and really tuned into the living world around them. Along the way they took time to stop a lot – and ate handfuls of juicy blueberries and cloudberries.
Read Freya’s 3 tips to find presence
So far… we have made it this far
Was this MTB adventure actually a MTB adventure? Sure, they had their mountain bikes with them. But with terrain so tough it’s hard to even hike it, what to speak of riding it, the question of what to call this madcap adventure arises.
The ragtag group of riding buddies consisting of Kevin Landry, JF Newton, Margus Riga, Kenny Smith, andPeter Wojnar set off on a freeriding adventure deep into British Columbia’s wild and rugged Chilcotin mountain range in search of new freeride lines.
The word expedition suits it better than adventure and 'challenge' doesn’t really do it justice. Watch the video above and read the report from the film crew and maybe you’ll reach a satisfying way to define it.


