


Suunto Blog

Meet the Norseman!
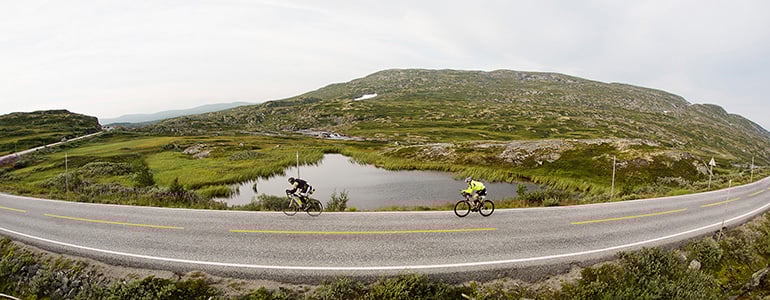
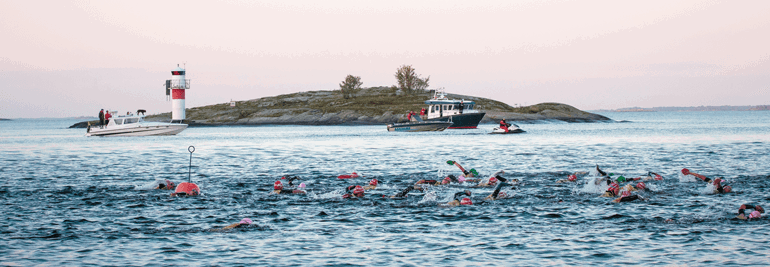
This weekend sees one of the world’s toughest triathlons take place, the Isklar Norseman. It’s a unique unsupported triathlon featuring a 3.8km swim in the frigid waters of the Hardangerfjord, a 180km bike ride, and is followed by a full marathon with a sting in the tail – an ascent of 1,800 m Gaustatoppen. The total ascent is 5,000 meters. Entrants are warned that they may get ‘unusually emotional’. On the start line will be pro-triathlete and elite Ironman athlete Teemu Lemmettylä. And he’s going out to win. One day before the race, he gives us the race lowdown.
The Norseman proves too much for one competitor. ©agurtxane concellon
Why do it?
The history and the fame of the race… it’s the most challenging xtri competition!
Physically, how much more challenging is it than a regular Ironman? It’s hard to say because Ironman is always an all-out effort. Pushing too hard at the beginning is much more costly in this type of race. I expect that the bigger difference compared will be on the mental side. You have to keep your head together.
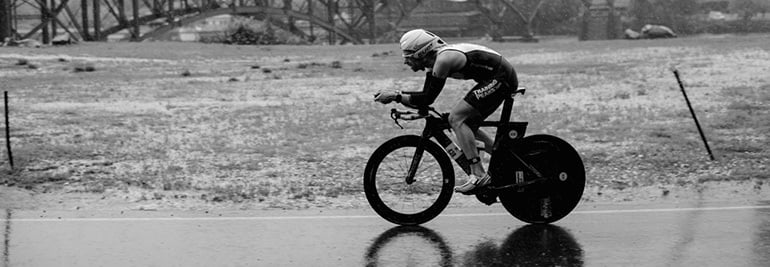
The marathon ends with a brutal ascent of Gaustatoppen. ©Jóse luis hourcade
How have you had to prepare differently? On cycling I have had to spent more time in up-hills during the training camps and generally put more focus on cycling because the bike leg is challenging and takes a long time. I have been working on my uphill running and used much more trails. However running hours have been similar to previous years.
Teemu Lemmettylä is an elite Ironman athlete. ©Teemu Lemmettylä
Are you concerned about conditions? Weather can range from beautifully sunny to blizzard? Training in Finland contains enough cold and bad weather which should not be a problem!
Do you think you can win? Anything is possible. On regular triathlon I should be the best from the pack. But this is my first Norseman – it’s just impossible to say for sure.
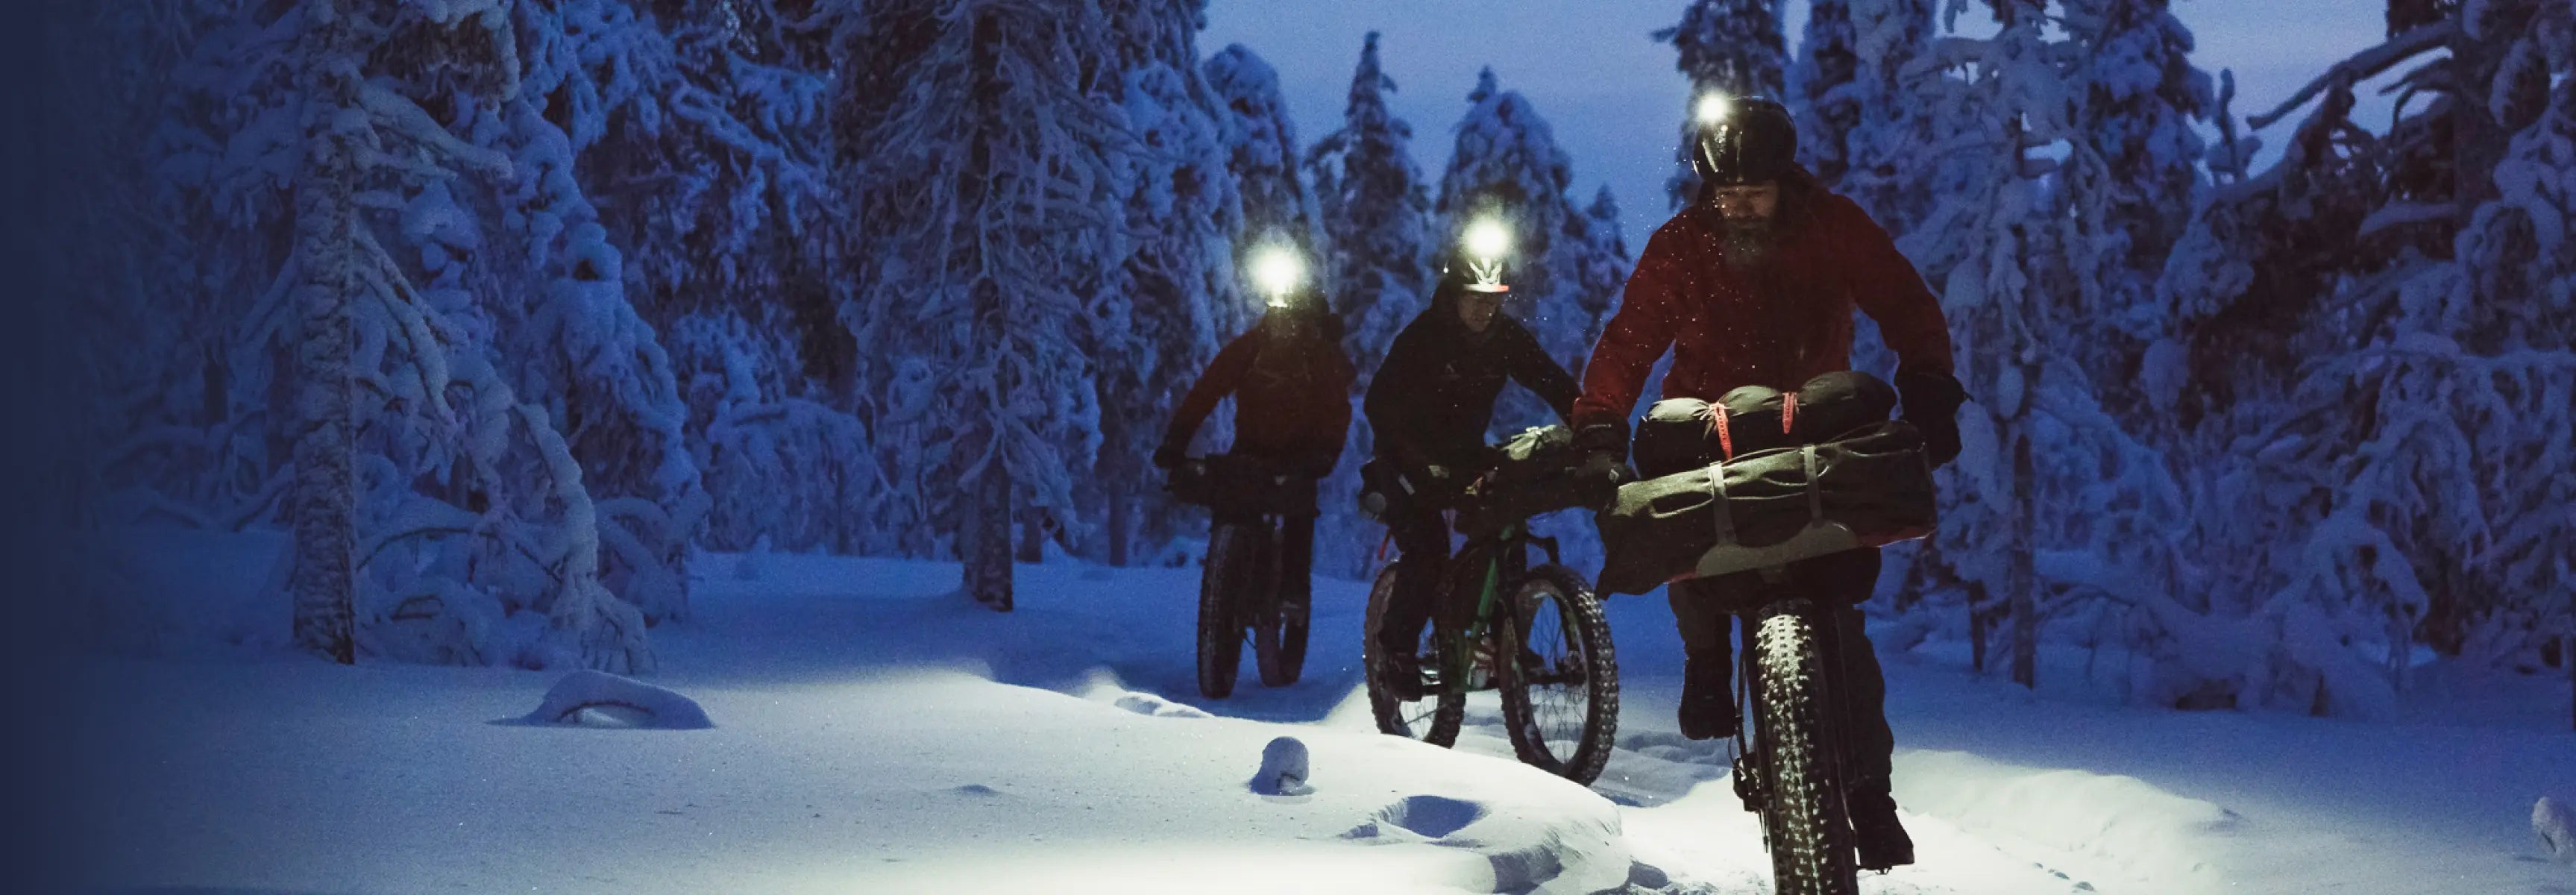
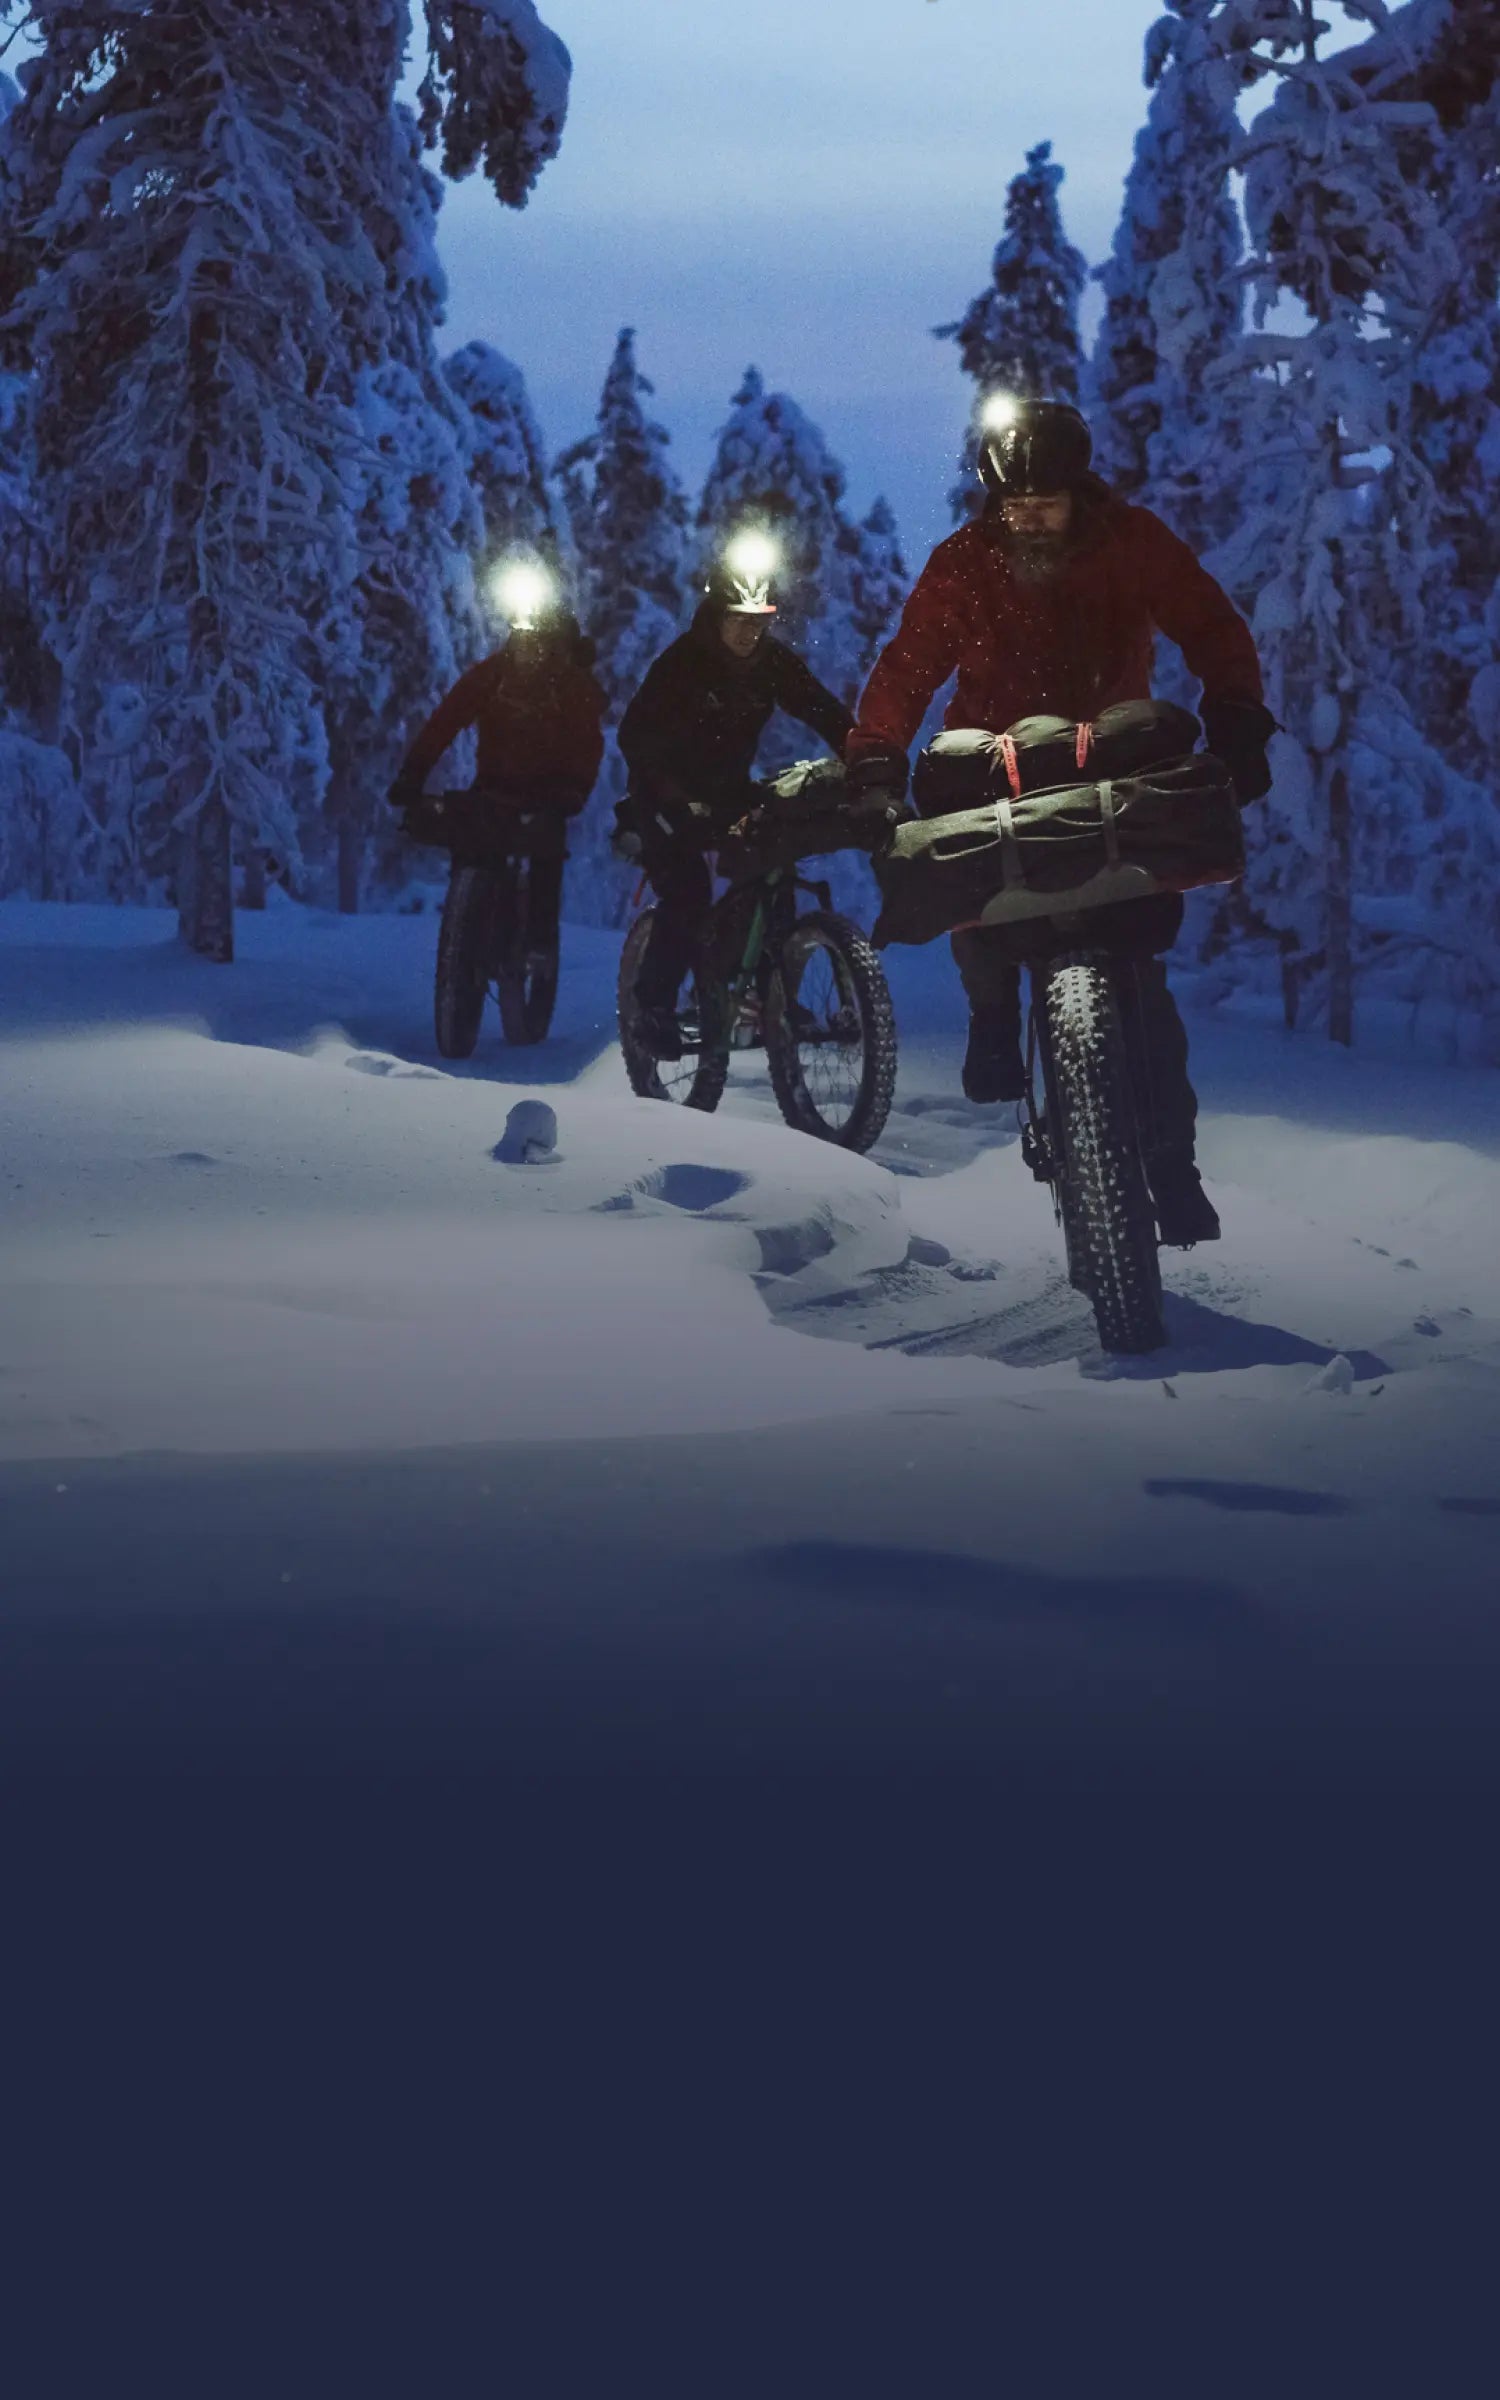
The race begins with an early start – and a cold one! ©Dag Oliver
Main header image: ©Jóse luis hourcade

SIX USEFUL TIPS FOR SWIM-RUNNING
Swim run events are great endurance challenges – and a super fun way to enjoy a summer’s day. The number one event in the world is the Ötillö Swim Run World Championship in Stockholm’s archipelago in September. In Ötillö, teams of two will open-water swim and trail run a distance of 75 km across 26 islands.
To make the challenge even bigger, the competitors have to carry everything they need with them through out the race, which results in some interesting and novel gear solutions – they swim with their running shoes and run in wetsuits.
German Armin Hummel and Finn Juha Lindfors are preparing for their third attempt at one of the toughest endurance challenges in the world.
Here Armin and Juha share six useful tips to get you through your swim-run more smoothly. Enjoy!
Less is more
“Focus on what is really needed. In Ötillö, there are plenty of feed stations along the way – though sometimes it can be a lengthy break between them. Make sure you take enough drinks and food at the feed stations. It will be a looong day!”
“You can take some fuel with you if you can carry it, but at least for us there is no need for a hydration pack. A soft flask might be a good idea as it can be stuffed inside your wetsuit once empty. If you need to worry about a backpack you probably aren’t focusing on the race.”
Practice the transitions
“Train switching from running to swimming, and the other way round. There are many transitions and if you spend an extra minute at each, you end up losing a whole hour. Quick transitions are also a key reason to minimize equipment.”
Choose the right shoes
“Your swim-run shoes and socks should be fast drying and comfortable also when they are wet. Good grip on slippery, wet rocks is essential.”
“We have tried regular running shoes, trail running shoes and trail running shoes with spikes. Shoes without spikes seem to work better for us on the rocks. So this year both of us will be using trail running shoes without spikes.”
Don’t swim any extra distance
“Make sure you always look for the point where you will get out of water. Sometimes currents can be strong and, if you don´t look frequently, you can be off-course quite fast. Frequent position checks are important, especially on the long swims.”
“As it is a pair sport, it might also be enough that one navigates and the other one follows. Consider this especially, if one in your team is clearly a stronger swimmer.”
Consider using paddles and pull buoys
“The first time we raced Ötillö we used pull buoys to improve buoyancy, but last year we didn’t. We are still experimenting on this. We are not sure if there is a benefit for us. “
“Generally you need to be a really strong swimmer to swim without pull buoys, as shoes are on all the time. Well, some do actually take their shoes off at least for the longer swims.”
“Paddles give you extra force especially when there are waves and currents. However make sure you train with them before so your shoulders are used to the extra stress.”
Always move, never stop
“In Ötillö, there is lots of running. Try to maintain a steady pace rather than going superfast in the beginning and then not making it in the end. If you start walking, it is hard to get back to running again.”
“Make also sure that you don´t go off-track and follow the markers. We use our Suunto Ambit3’s to know the distances during stages.”
All photos by ÖTILLÖ14


8 tips for open water swimming
Swedish triathlete Åsa Lundström learned to swim later in life, but thanks to good training she improved rapidly and became a champion. Below she shares eight tips for becoming a better swimmer in open water races.
Medical student Åsa Lundström is a two time Ironman winner and Swedish long distance champion. © Petri Kovalainen
Open water swimming is a lot more challenging than swimming in a pool. Wind, waves, currents, navigation, others swimmers splashing around you make having a strong technique and mindset essential.
1. Mind power
Open water swimming races can be mentally challenging. You can swallow water, have trouble navigating, get water in your goggles and knocked around by other swimmers. It’s important to stay focused and not get lost in negative thoughts. Try to develop tools to keep a positive mindset. For example, repeating your own positive mantra can be helpful.
2. Practice swim starts
If you lose your focus at the start of a race because someone is hitting you every second or two it can affect you for the whole race. But if you're familiar with it, then it won't affect you as much. To work on this, practice swim starts in a pool with a group of training friends.
3. Balance is key
Strong swimmers are much more stable in rough water. That's why weaker swimmers should work on their balance and stability by doing pool drills. Side kicking and polo swimming drills are good to start with. Core strength training exercises are also good.
Click here to find out how Åsa went from non-swimmer to champion triathlete
Doing drills with buddies helps to simulate race conditions. Petri Kovalainen
4. Follow the feet
During a swimming race, having someone immediately behind you can destroy your rhythm. It’s good to simulate this experience in a pool so you get used to it. A good drill for this is swimming in a row with three training friends, each on the feet of the other. Try being in each position – front, middle, back.
5. Know the conditions
You don’t want any surprises on race day. Make sure you know you can handle the conditions. If the race is in cold water, then you should practice in cold water. If the race is in open water, you should train in open water.
6. High frequency
To help maintain your technique in challenging conditions, try to have a high frequency arm turnover, higher than you normally would have in a pool. It makes you stronger, less impacted by people hitting you and helps you to slice through waves.
Learning to breath on both sides is important. © Petri Kovalainen
7. Find a landmark
When you swim in open water, it’s a good idea to navigate for a landmark, not something in the water. I try to find a landmark above the buoy so I don’t have to lift my head as much. The higher the landmark, the easier it is to navigate and not miss your target.
8. Breath on both sides
It’s a good idea to practice breathing on both sides. If you’re in a race and you have someone close to your right side, it might be better to breathe on your left side. Being able to breath on either side is also useful if waves are coming from one direction, or if you are trying to navigate towards something.
Lead image: © Orca/Gines Diaz

HOW TO USE AMBIT3’S RECOVERY FEATURES
To help you balance your training Suunto Ambit3 has two recovery indicators: recovery time and recovery status. Read on and learn how to take advantage of these features.
RECOVERY TIME
Recovery time is an estimate of how long your body needs to recuperate after training. The time is based on the duration and intensity of the session, as well as the overall fatigue, accumulating even at lower intensities. Recovery time accumulates from one session to the next, if you train again before the time has expired. A graph of your recovery time is displayed as one of the screens in the time mode. When entering the logbook, the recovery time in hours is displayed on the screen.
There is one important point to remember: the time is an estimate that is based on activities you have done with your Ambit3. It doesn’t have information about other aspects of life. Did you sleep enough? Do you have flu? Was your meal nutritious and helpful for your recovery?
To get an accurate indication of your actual recovery state, we recommend using one of the two recovery tests.
REVOVERY STATUS
Recovery status indicates the amount of stress on your autonomic nervous system. The less stress you have, the more recovered you are. Knowing your state of recovery helps you optimize your training and avoid over training or injury.
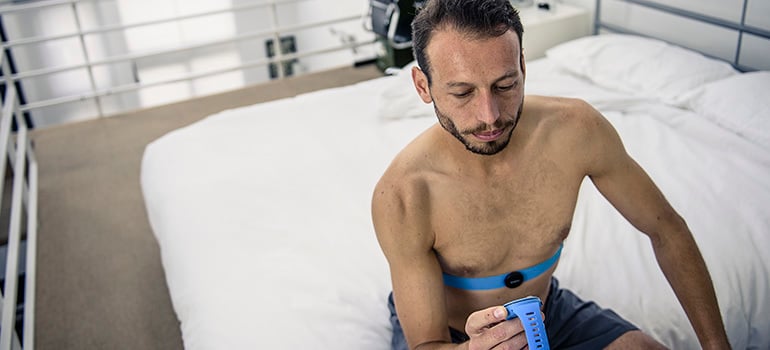
You can check your recovery status with a quick recovery test or sleep recovery test, powered by Firstbeat. The tests require a Bluetooth-compatible heart rate sensor that measures heart rate variability (R-R interval), such as Suunto Smart Sensor.
Your recovery status is indicated with 0-100% result scale.
Result & Explanation
81-100 Fully recovered. OK to train up to very hard intensity.51-80 Recovered. OK to train up to hard intensity.21–50 Recovering. Train easy.0-20 Not recovered. Rest to recover.
The more serious you are with training and the more tests you do, the more important details are, also in the test results. For a top-level athlete a difference of five points in recovery status may be meaningful where as an active runner will be happy with the four point scale presented above.
When entering the logbook, recovery is displayed as your estimated recovery time; if a recovery test is done within the past 24 h and after your previous move, the display will show the result of the last test. This assuming the recovery has been calibrated (see next chapter).
CALIBRATING THE TESTS
When you first start using Ambit3’s recovery tests the watch needs to be calibrated in order to provide accurate, personal results. The calibration tests define what 'fully recovered' means for your body. With each calibration test, your watch adjusts the results scale of the test to match your unique heart rate variability.
You need to perform three calibration tests for both sleep recovery and quick recovery tests. The calibration tests do not need to be done in sequence, but they need to be at least 12 hours apart. These need to be done when you have no accumulated recovery time. Ideally, you also feel fully recovered and are not ill or stressed during these calibration tests.
During the calibration period, you may get results that are higher or lower than expected. These results are indicated in the watch as your estimated recovery status until the calibration is completed. Once you have completed the calibration, the latest result is displayed when you enter the logbook instead of recovery time.
SLEEP RECOVERY TEST
The sleep recovery test, powered by Firstbeat, provides a reliable indicator of your recovery status after a night's sleep.
To perform a sleep recovery test:
Put on your heart rate belt and ensure the electrodes are moist.
Press [Start Stop], scroll to RECOVERY with [Start Stop], and select with [Next].
Scroll to SLEEP TEST and select with [Next].
If you want to cancel the test, press [Back Lap].
When you are ready to get up in the morning, end the test by pressing [Start Stop] or [Next].
The sleep recovery test requires at least two hours of good heart rate data to produce results. The test does not take into account the length of the night meaning you can get similar results after a six-hour sleep and an eight-hour sleep.
If you use your Ambit3’s alarm function, set the alarm first and then start the test. And in the morning stop both your alarm and your sleep recovery test.
During the test you will see the time and SLEEP TEST on the bottom row of the screen.
And last but not least: don’t worry if you have to get up in the middle of the night. This doesn’t make your test unreliable. The test selects the best two-hour period of your sleep and analyzes that.
QUICK RECOVERY TEST
The quick recovery test, powered by Firstbeat, is alternative way to measure your recovery status. The sleep recovery test is a more accurate method to measure your recovery status. But for some individuals, wearing a heart rate sensor throughout the night may not be feasible.
The quick recovery test only takes a few minutes. For best results, you should lie down, stay relaxed, and not move around during the test. We recommend performing the test in the morning after waking up. This helps ensure you get comparable results day to day.
To perform a quick recovery test:
Put on your heart rate belt and ensure the electrodes are moist.
Lie down and relax in a quiet environment free from disturbances.
Press [Start Stop], scroll to RECOVERY with [Start Stop], and select with [Next].
Scroll to Quick test and select with [Next].
Wait for the test to complete.
When the test is complete, scroll through the results with [Next] and [Back Lap].
TROUBLE SHOOTING THE RECOVERY TESTS
There are basically two reason for the tests to fail:
Bad skin contact or low HR belt battery will generate bad data and the test will fail.
If you are too stressed for the test, like right after a training session, the test is likely to fail.
The results of the tests do not impact your estimated recovery time.
Read more about the feature in Firstbeat’s scientific white papers:
Recovery Analysis for Athletic Training Based on Heart Rate Variability
Stress and Recovery Analysis Method Based on 24-hour Heart Rate Variability
Read more Tutorial Tuesday articles at tutorialtuesday
Get support for your Suunto product and find user manuals at support
Face to Face with Conrad Stoltz, #SuuntoAdventure Video Series Episode 5
In the fifth episode of #SuuntoAdventure Video Series four time XTERRA world champion Conrad Stoltz talks about going fast, suffering and over 25 years of competing in triathlon.
Face to Face with Conrad Stoltz, #SuuntoAdventure Video Series Episode 5
Watch also the other episodes in the series:
Face to Face with Emelie Forsberg – #SuuntoAdventure Video Series, Episode 1
Face to Face with Greg Hill – #SuuntoAdventure Video Series, Episode 2
Face to Face with Kilian Jornet – #SuuntoAdventure Video Series, Episode 3
Face to Face with William Trubridge – #SuuntoAdventure Video Series, Episode 4

BENEFITS FOR USING TRAININGPEAKS WITH YOUR SUUNTO
Suunto became compatible with TrainingPeaks this spring. We got in touch with Canadian ultra runner Rodney Buike to learn more about the service.
Rodney Buike started his athletic career as an alpine ski racer and a mountain biker but has since evolved into an endurance athlete covering longer and longer distances. First he competed in duathlons and triathlons, but has recently started to run ultras, too.
Buike has been using TrainingPeaks as his main tracking application since 2011.
“I initially started with the free version of TrainingPeaks but soon switched to TrainingPeaks Premium for some of the added capabilities,” says Buike.
“For me the best feature is the Performance Management Chart. It gives me a real ability to manage my fitness and fatigue levels over the course of my racing season.”
TrainingPeaks’ Performance Management Chart (PMC) tracks chronic training load (CTL based on activities older than 15 days) and acute training load (ATL based on the last 14 days of activity). These numbers are based on the athlete’s thresholds which allows TrainingPeaks to calculate the intensity (IF) and Training Stress Score (TSS). This is then used to calculate Training Stress Balance (TSB). All this data can be used to monitor progress and ensure a smooth steady build up and then taper to main race or races.
Here’s Buike’s own PMC starting with the beginning of training for his first 50K race.
Rodney Buike’s 180-day Performance Management Chart
“The first vertical red line is the peak of training with the longest run before tapering began for the race (the next vertical red line). Then you can see the recovery period and the final vertical red line indicating when training began again,” Buike explains.
“There are a few important things you can see in this graph: First off you can see a long slow steady build with the gradual increase in the CTL (the blue line). There are smaller spikes along the line, which individually identify the key long runs followed by short recovery periods – but an overall steady climb. The TSB (orange line) moves into the positive as I recover and taper for the race while the ATL drops as training load is decreased.”
Over the course of time the Performance Management Chart can help you plan your taper and recovery to ensure you are doing just enough to maintain fitness while recovering properly to ensure your best performance on race day.
SET YOUR ZONES FIRST
While this all sounds very complex there are a few very basic things that all athletes can take advantage of immediately.
“The first thing I recommend is to set your zones. If you are using HR based training you can set different zones for all activities. For specific activities you can also define additional zones. I highly suggest runners to set their pace zones, which can be done using the results of a recent 10KM running race. Cyclists, who have a power meter, can input their functional threshold power (FTP) and use that to build power zones.”
In addition to the Performance Management Chart, Buike highlights the premium version’s advanced charts that you can use to drill deeper into the data (power analysis, scatter graphs, etc.). He also finds the planning tools very useful.
“With the premium version you have the ability to plan out your upcoming week, month or longer and have that sync with your calendar in Outlook, Gmail, Apple iCalendar or any calendar tool that supports ICS files. When you upload activities they will automatically populate the related activity in your TrainingPeaks calendar,” says Buike.
So how does your own calendar look for the coming weeks?
“I have decided to move into the ultra running world and completed my first 50 km and 80 km races recently. In May I have a 130km race coming up.”


